The Samsung subwoofer is a great device for your home theater system. It produces excellent sound quality when combined with the soundbar. These two devices working together bring users an amazing listening experience. You will feel like sitting in an expensive cinema with this setup.
New or low-tech users may find it difficult to pair the Samsung subwoofer with the main speaker. In some cases, people have lost their soundbar remote and want to learn how to connect these devices manually. If you are struggling with this process, this post will be of great help. You can easily connect your subwoofer to the main speaker with our step-by-step instructions.
Read more: Best Samsung Soundbars to Upgrade Your Audio Experience
An Overview Of Samsung Soundbar and Subwoofer
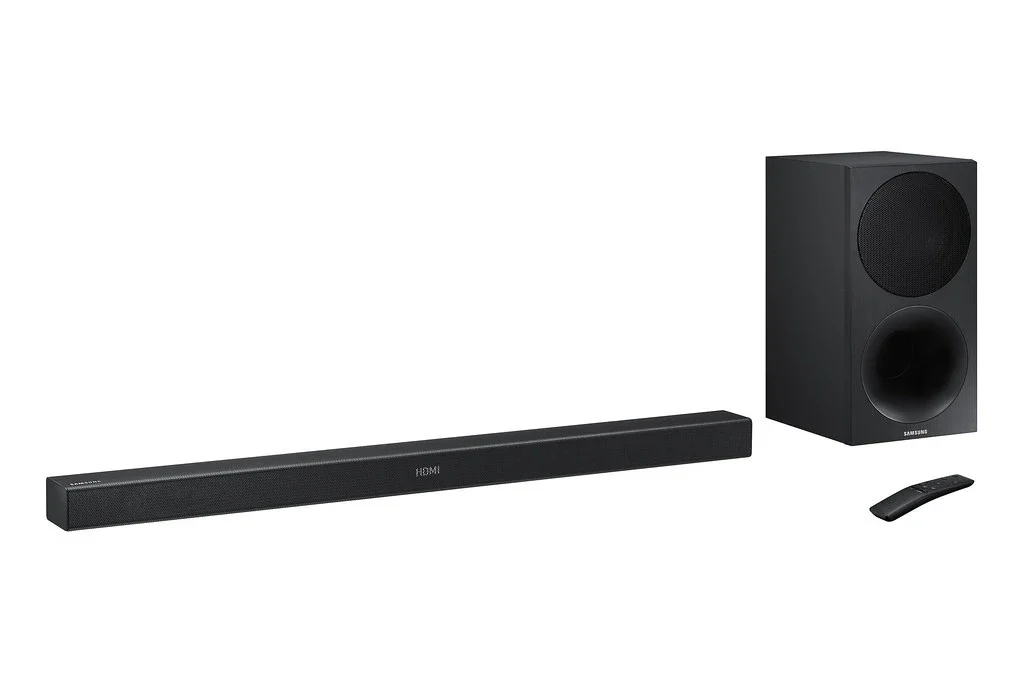
Soundbars from Samsung are one of the leading products in the sound device market. They possess a beautiful and elegant design which can be put neatly under the TV or hung on the wall.
You can find different product lines of Samsung soundbars at affordable prices on the market. They produce much sharper and more immersive audio quality compared to TV and smartphones.
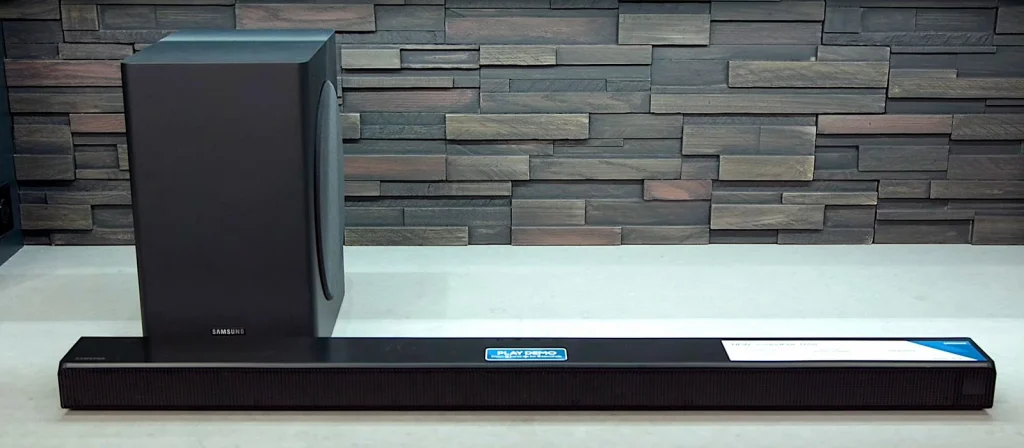
Like the soundbar, the subwoofer or woofer is a special speaker that plays mainly low-frequency sound (20-200Hz).
It makes the audio effects from movies and songs sound more lively and accurate. Adding a subwoofer will improve the overall audio performance of your home system theater.

How To Connect Samsung Subwoofer To Soundbar?
Unlike the old speaker and woofer models, Samsung devices can be connected wirelessly via bluetooth or pairing mode.
Here are the simple methods to pair your Samsung subwoofer with the main speaker. Ensure that you follow the steps, and your devices function well.
Method 1: Connect Automatically
If your speaker and woofer both came from Samsung, they would automatically pair with each other.
First, you need to plug the power cords provided in the box into the two devices. Ensure that you choose the right port in the back labeled DC 24V or Power Supply In.
The next step is to plug the other ends of the power cords into the power outlet.
When turned on, the woofer will automatically search for your speaker signal. The LED indicator on your device will continuously blink blue.
Now switch on the speaker, and it will automatically connect to the woofer.
When the connection has been established, the LED light on your device will stop blinking. If it doesn’t, repeat the process one more time.
Method 2: Connect Manually
In most cases, the woofer and soundbar should be automatically connected. You will need to use a manual connection when the remote is lost, or the previous link was deleted after a factory reset.
Similar to the first method, the first step is to power your two devices by plugging them into the power outlet.
Look for the ID SET button on the back of your woofer. Press and hold this button for five seconds or longer.
After five seconds, the red indicator will turn off, and the link LED light will continuously flash blue. This means that the device has switched into the pairing mode and is searching for signals from your soundbar.
Turn off your soundbar and press the “Mute” button on the speaker remote. If you don’t have the remote, press the ID SET button on your speaker instead.
After about five seconds, the ID SET icon will appear on your soundbar’s front display. Now turn on the speaker, and it will connect to the subwoofer.
After the two devices are paired, the link LED light on your device will stop blinking and flash a stable blue. Now your woofer and main speaker are fully connected and ready to go.
If it still blinks, the connection hasn’t been completed, and you must repeat the process. Consider watching the video below if you need more detailed instructions.
Conclusion
The woofer is a perfect match for your main speaker. It enhances sound quality and brings your listening experience to another level. We hope that this simple instruction can help you connect your Samsung subwoofer to the soundbar effortlessly. Thank you for reading!
Samsung soundbar is also featured in the following post:


