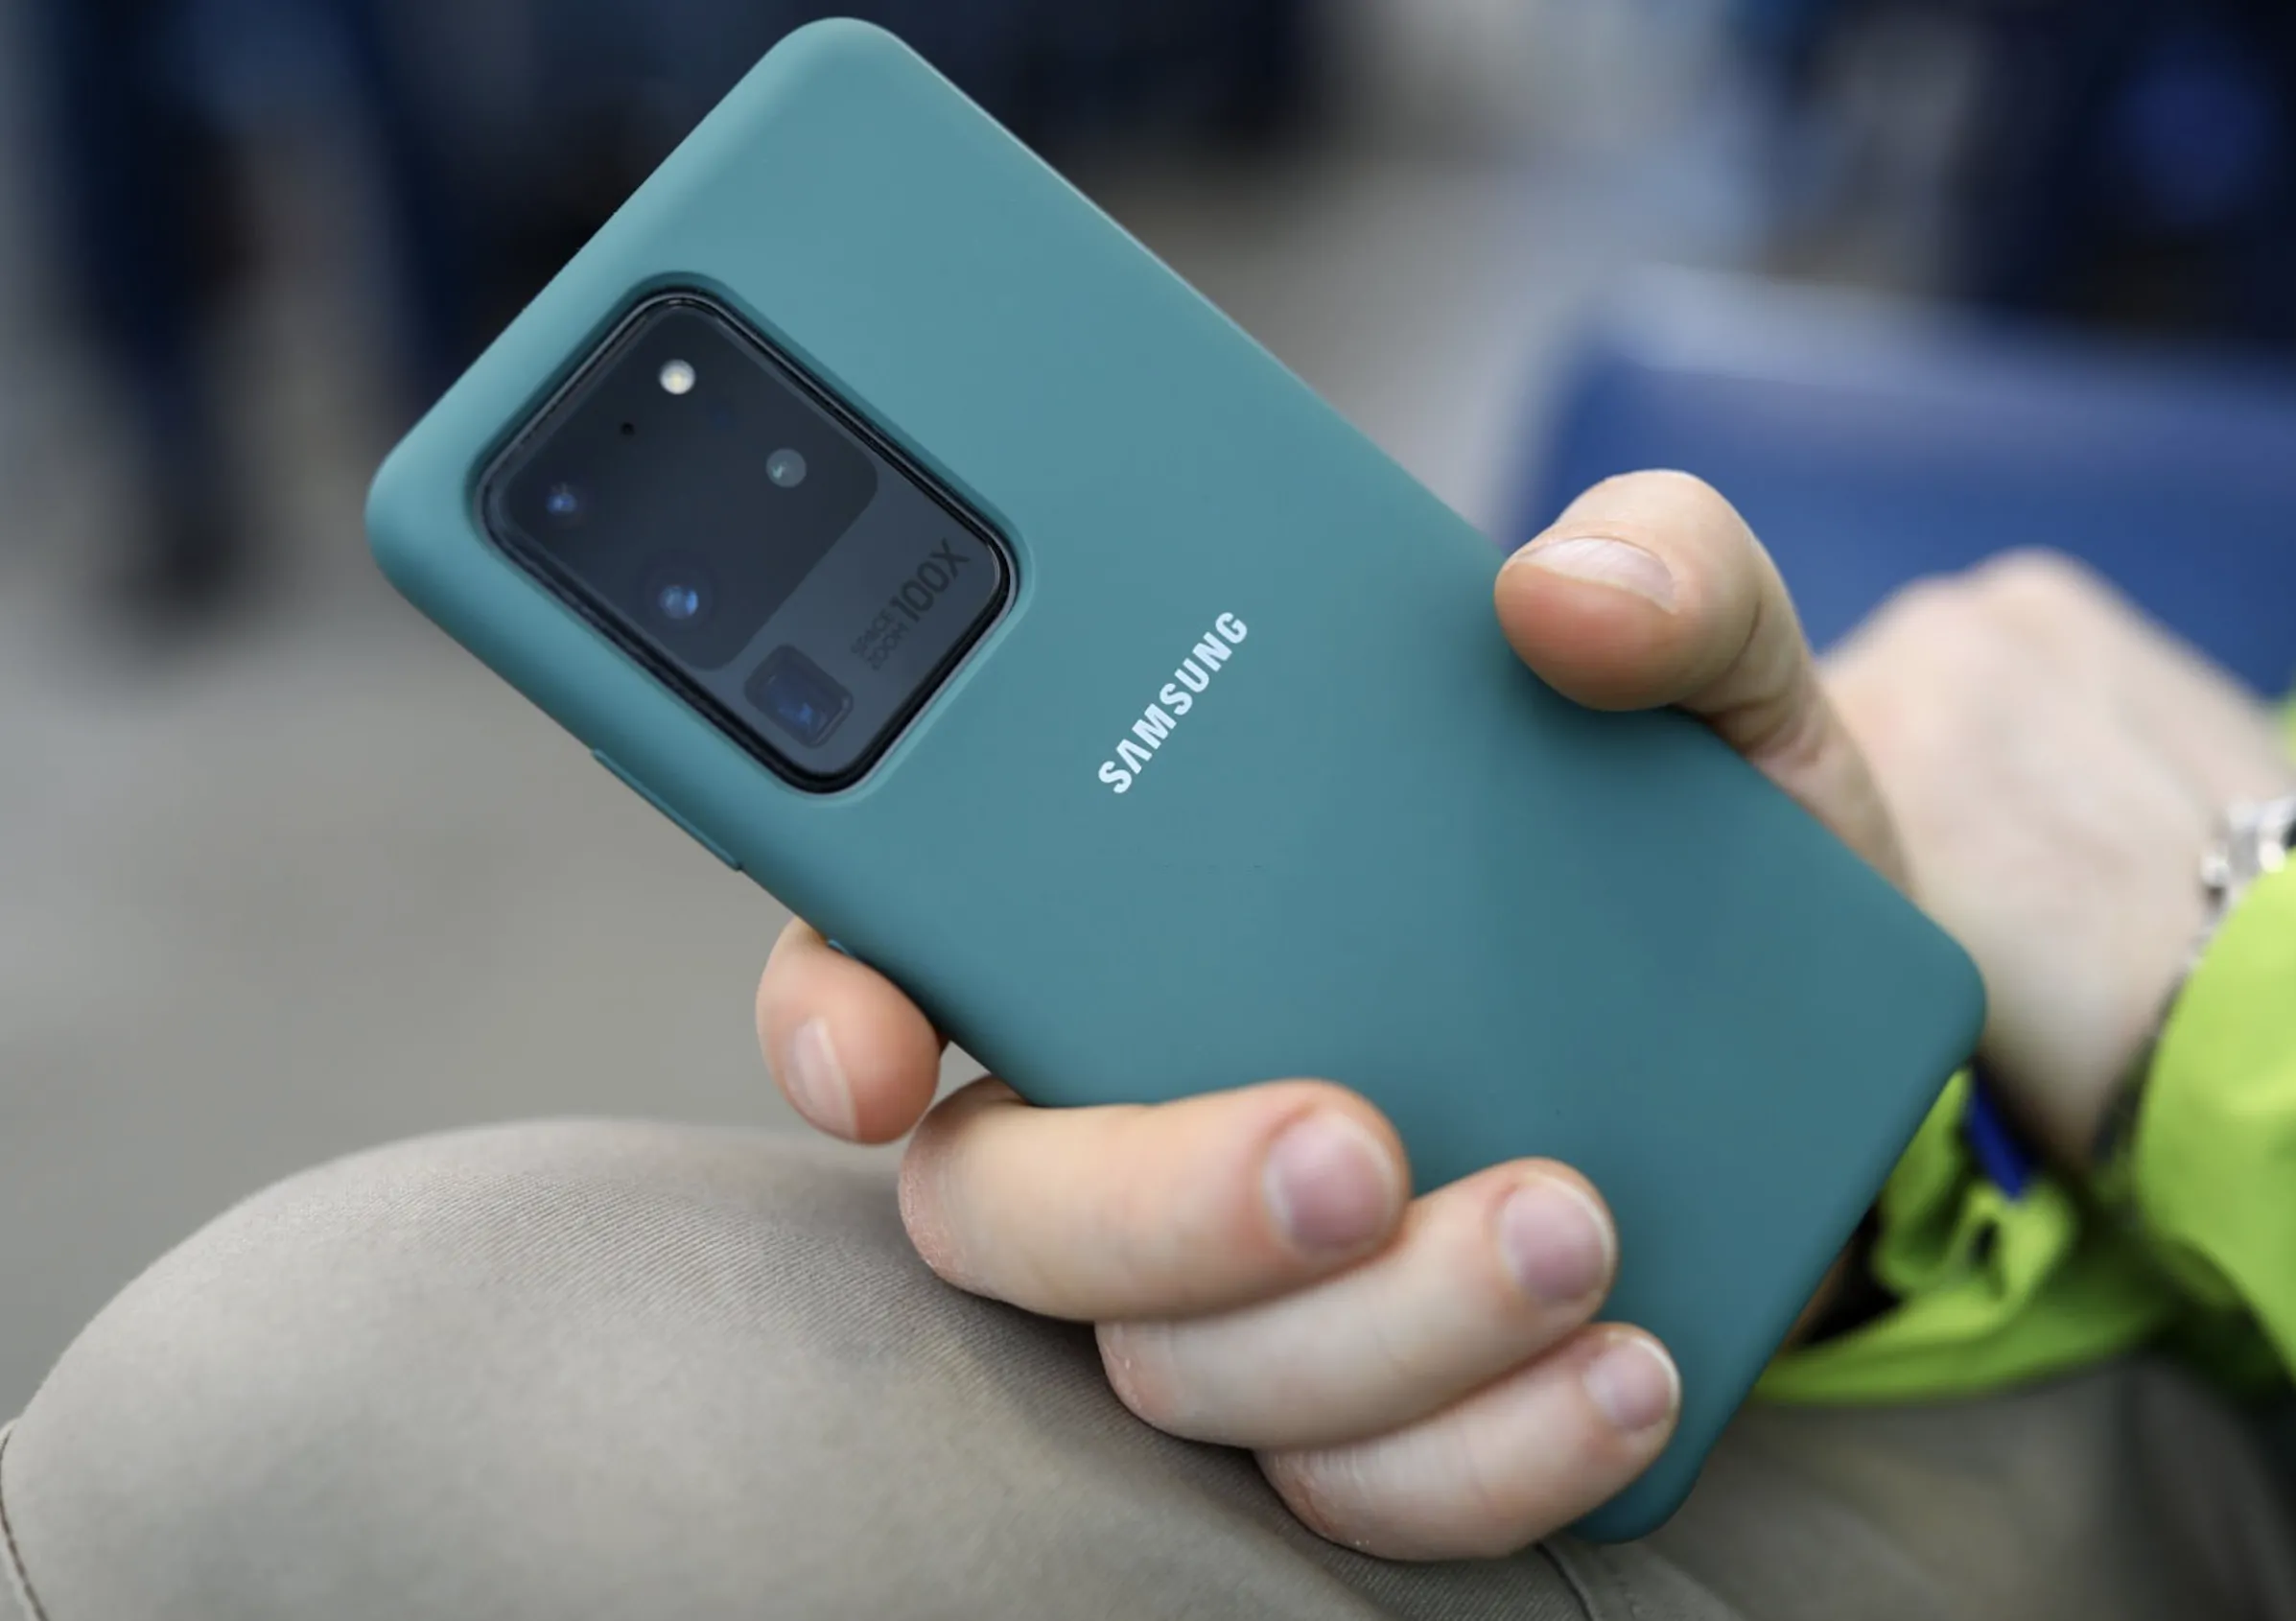
Every person wants to have a good sound system in their home. The problem is that not everyone knows how to connect Samsung Soundbar to wifi and it seems like the most complicated thing in the world. Samsung has come out with a soundbar that not only gives you great sound quality, but also allows you to connect to the internet wirelessly.
This can be a great option if you don’t want to deal with any cables (HDMI or Optical cable). In this article, we’re going to show you how to connect Samsung Soundbar to Wifi & HDMI in just a few easy steps. So if you’re looking to get that perfect sound system in your home, read on!
Advantages of Using Wifi
When connecting your soundbar to a TV, you may have several options for doing so. One of those options is using a Wifi network. Here are some advantages of using Wifi to connect your devices.
- Widest range: Wifi has a longer range than Bluetooth, meaning you can be up to 30 feet away and still have a connection. This is great if you want to keep your devices in different rooms but still want to be able to listen to music.
- Multiple connections: You can connect multiple soundbars wirelessly using Wifi, so long as they are within the same network range. This means that you can use Wireless Audio 360 systems simultaneously without any degradation in sound quality.
So if you’re looking for a convenient way to connect your soundbar to your TV, using a Wifi network is a great option. It provides a wider range than Bluetooth and allows for multiple connections, so you can have the best audio experience possible.
How to Connect Your Samsung Soundbar to WiFi
What You Need To Ensure Before Connecting

There are a few things you need to make sure of before you start trying to connect your Samsung Soundbar to Wifi.
- First, make certain that the devices are linked to the same router or Wifi network. If you have two devices with different frequencies, you won’t be able to connect them.
- Second, check if the other device has a wireless Wifi connectivity feature. If it does not, you will not be able to connect your Soundbar to it. Like an old TV model before 2013 may not be compatible with your Soundbar.
- Finally, test the Wifi on other devices before connecting the Soundbar. Make sure that the Wifi is working correctly so that you do not run into any problems later on.
Connecting your Soundbar to another device is a great way to improve your audio experience. Now that you have checked that all of your devices are compatible, let’s start connecting your Samsung Soundbar to Wifi!
How to Connect a Samsung Soundbar to a Wifi Network
Samsung provides two ways to connect your Samsung soundbar to a Wifi network: Wired and Wireless. In this post, we’ll focus on how to connect your soundbar wirelessly.

To connect your soundbar wirelessly, you’ll need:
- Your Samsung Soundbar & TV
- A mobile device
- The Samsung SmartThings app
First, make sure your soundbar is in Wifi mode. To do this, either click the Source button on the back of the soundbar or on the remote, and select Wifi.

Then, connect your mobile device to the same Wifi network as your TV. If you’re not sure how to do this, check the instructions for your specific device.
Once your mobile device is connected to the Wifi network, You can get the Samsung SmartThings app from the Google Play or iOS devices.
Open the SmartThings app and tap the Add icon (+).
Next, select Device as the first selection on the screen.
Tap the plus icon and select AV.
Then, tap Soundbar and select the brand of your soundbar among Samsung and Samsung Harman Kardon.
Finally, tap Start and select the location and room. The app will search for the soundbar and connect.
Once the soundbar is connected, you’ll be able to control it using the Samsung SmartThings app. You can use the app to change settings, power on or off, and more. Enjoy your new soundbar!
Connecting your Samsung soundbar via HDMI
If you’re looking to get the most out of your Samsung soundbar, then connecting it via HDMI is the way to go. By doing so, you’ll be able to take advantage of high bitrate audio formats like Dolby Digital Plus.
In order to make the most out of your setup, though, you’ll need an HDMI cable that’s labelled “High Speed” or “High Speed with Ethernet”. You may use the HDMI cable that comes with set-top boxes like Sky Q or gaming consoles like the Xbox One X, both of which have been certified.
If you’re looking to get the most out of your Samsung soundbar, it’s important to know how to connect it properly. In this guide, we’ll walk you through the steps necessary to connect your soundbar via HDMI.

Note: Before you start, make sure all of your devices (TV and Soundbar) are turned off.
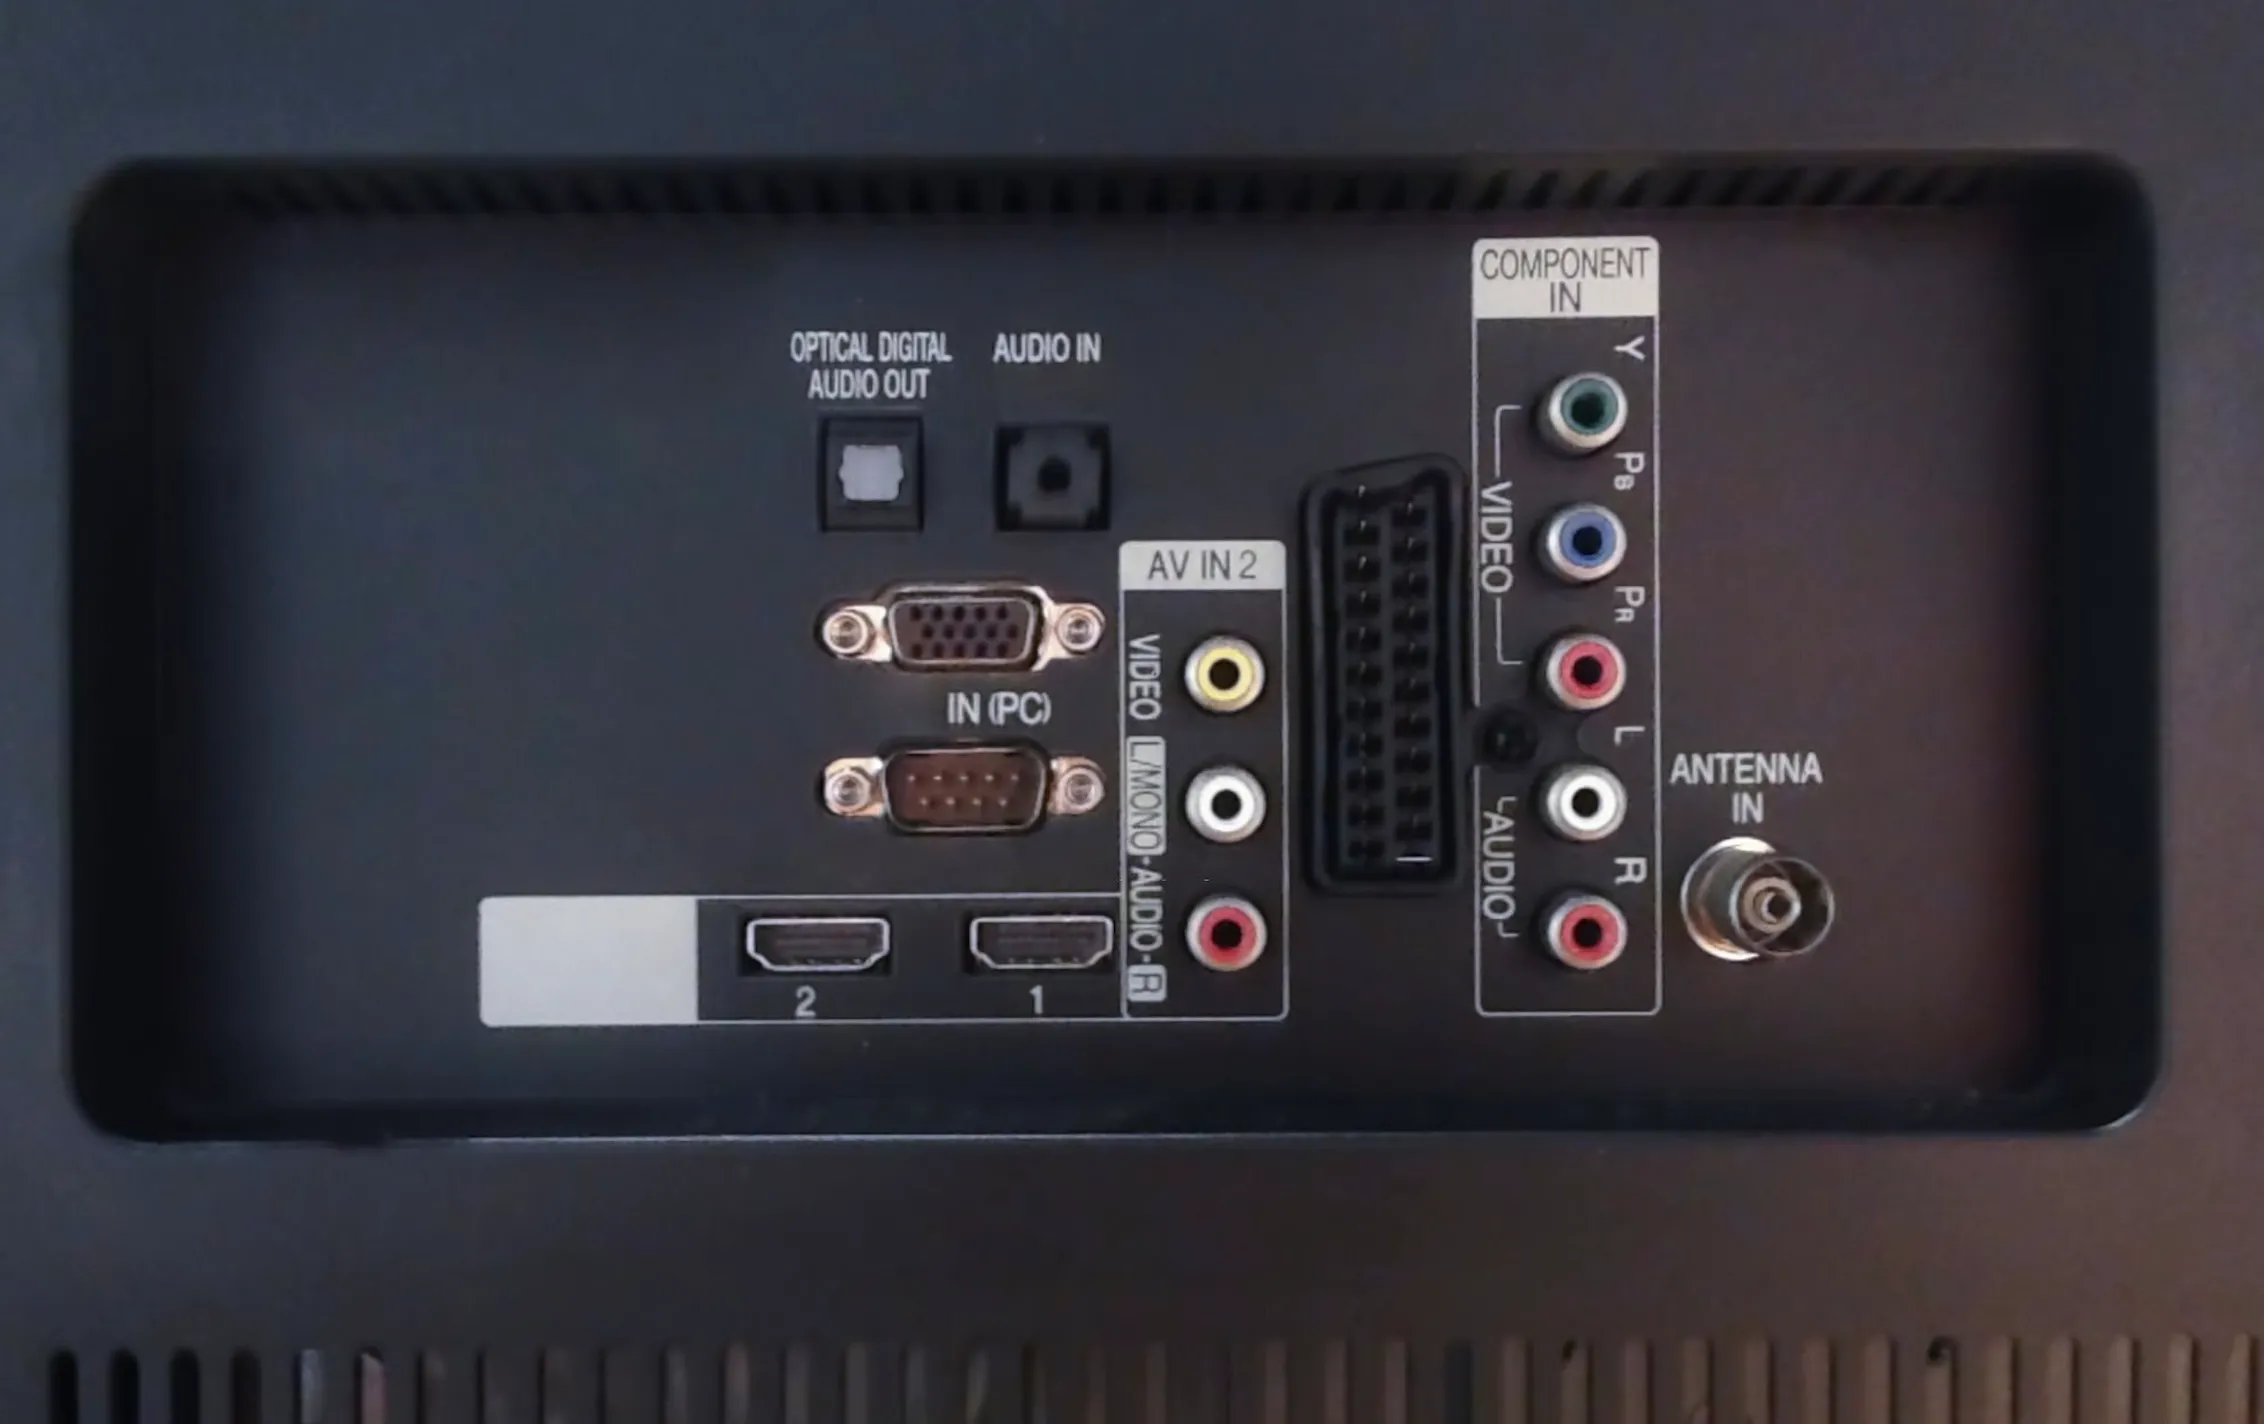
- Connect one end of your HDMI cable to the HDMI IN (ARC) connection on your TV.
- Connect the other end of the HDMI cable to one of your soundbar’s HDMI ARC or HDMI OUT ports.
- Now, turn on your soundbar, TV, and change the output to HDMI.
- Open the Settings menu on your TV and select Sound. Next, select Sound Output and choose your connected soundbar.
That’s it! You’re now ready to enjoy great-sounding audio from your Samsung soundbar.
Conclusion
Samsung provides two ways to connect your soundbar to a Wifi network: wired and wireless. Now that you know how to connect your Samsung soundbar wirelessly and HDMI, follow these simple steps to get started.
Make sure your devices are all compatible and connected to the same network, then download the Samsung SmartThings app. The app is free and easy to use. I hope you enjoyed this post. If you have any questions, please don’t hesitate to ask in the comments below. Thanks for reading!


