Screenshots are the best way to interpret a problem, capture the conversation with your friend or highlight a specific form or thing on your macOS. Virtually, you can capture everything on screen of your mac and save it in the form of an image.
There are plenty of options to capture a screenshot on your Mac, you can either use the built-in option in your Mac or a third party utility from the Mac App Store to take screenshot. The built-in option will allow you to capture the whole screen, a window of a program of a specific portion of your screen.
However, you will need some Keyboard shortcuts to take screenshot on your Mac and there is also a built-in utility to capture your screen and save it on your home screen. This help will go through each and every method to take different types of screenshots on your Mac.
How to Take a Screenshot on a Mac
How to take screenshot of the Entire Screen
This method will take screenshot of the whole screen of your mac and the screenshots are saved right on your main screen. Press “Command + Shift +3” simultaneously on your keyboard
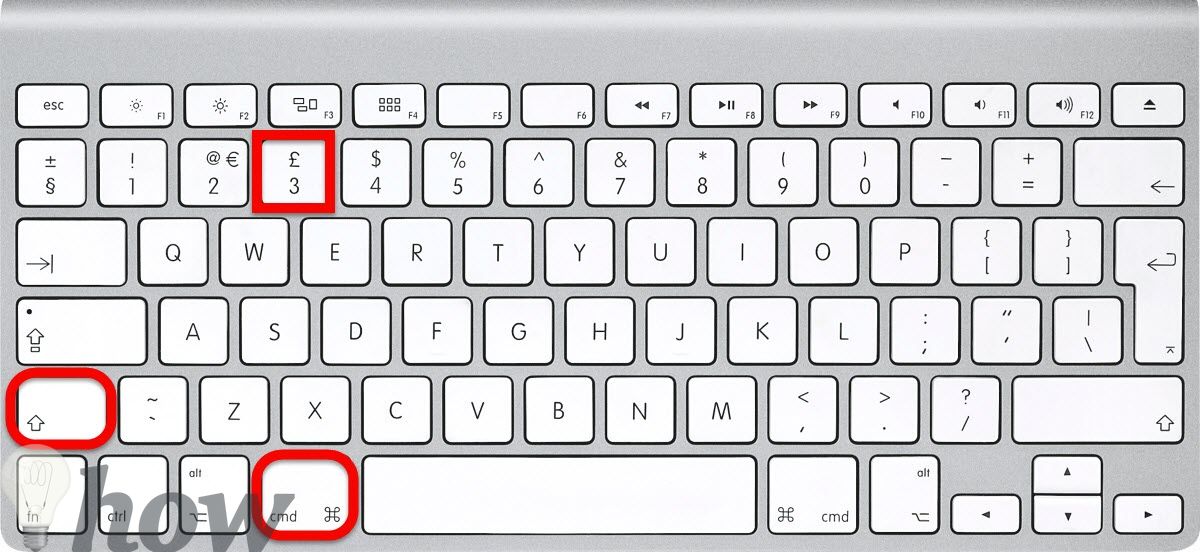
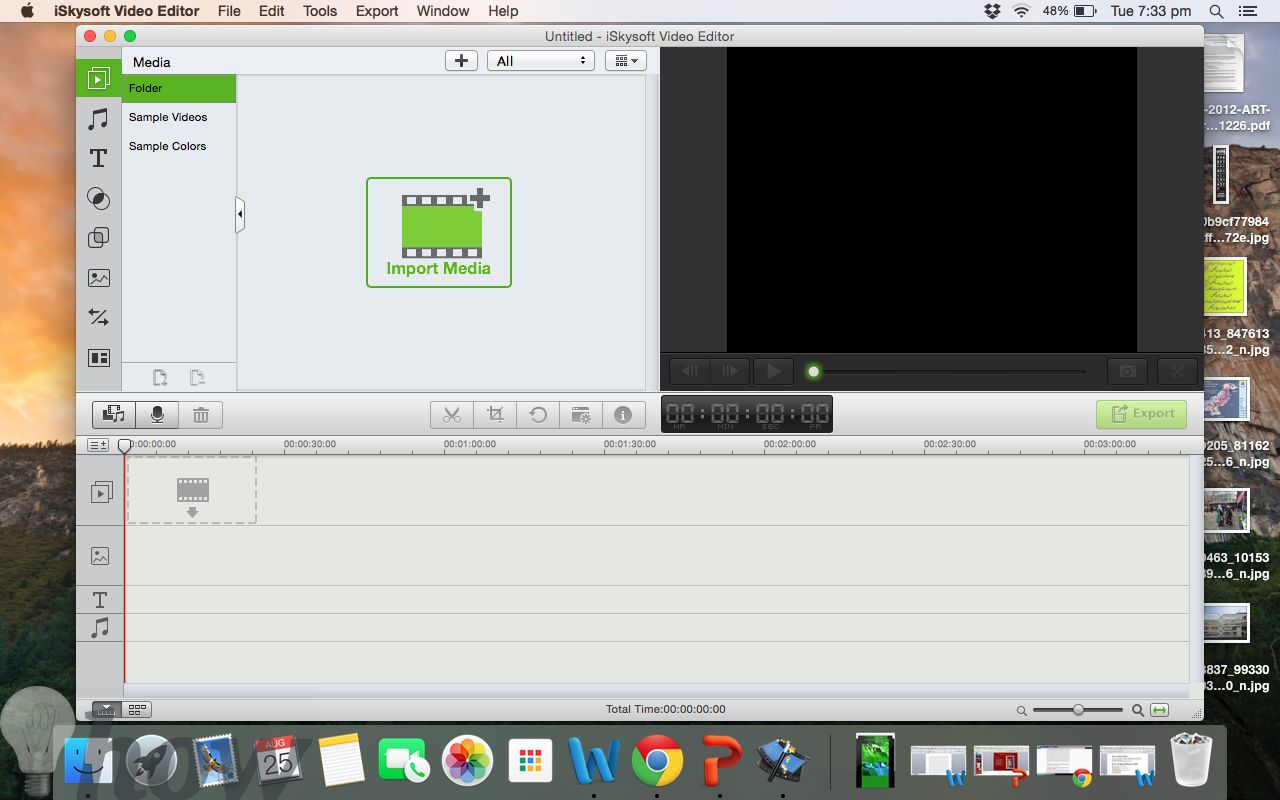
You will hear a sound on your Mac and the screenshot of the entire screen will be saved on the main screen. If you intend to take more than one screenshots, all of them will be saved on your home screen with different “Date and Time”.
How to take screenshot of a specific portion
Press the “Command + Shift + 4” at the same time to take screenshot of a specific portion.

As soon as you enter the keyboard shortcut, it will turn your pointer into a reticle. Press and drag the reticle to take screenshot of a specific area. Once you have selected the specific area, release the mouse button and that’s it. A new screenshot of a specific portion will be saved on the main screen.
![]()
How to take screenshot of a specific application
The method to take the screenshot of a specific program is particularly similar to taking the screenshot of a specific portion, however, it will surely take you the sometime because you will not have to hold and drag the trackpad to take the screenshot. Press “Command + Shift + 4 + Space” to take the screenshot of a specific program.
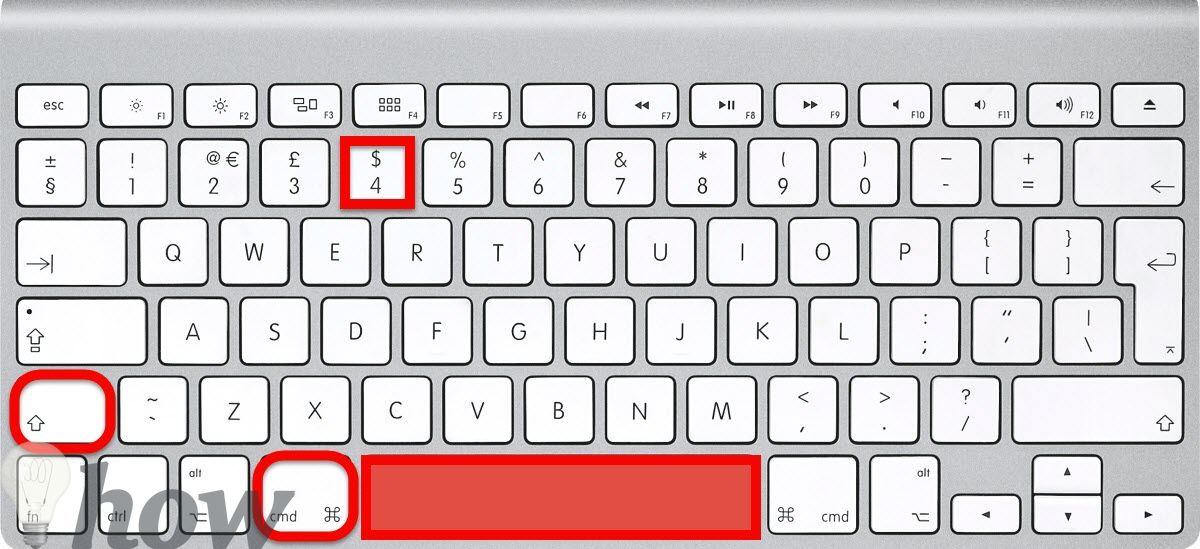
A new screenshot of that particular program will be automatically saved on the main screen. Like other methods, the screenshots will be arranged in the form of “Date and Time”.

Using Grab Utility in macOS
This method is useful for those use who are not good with the keyboard shortcuts and want to have an alternative of taking screenshots.
Go to Applications > Utilities > Grab; you can also launch this application from Launchpad, Go to Other > Grab.
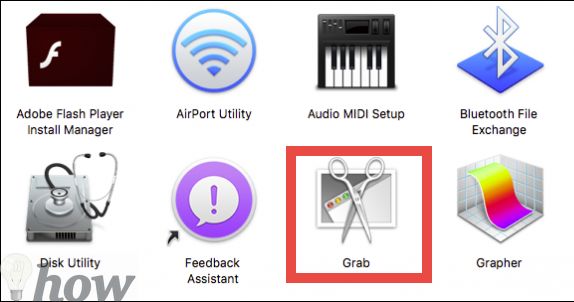
Once you launched the Grab utility, a new tab named “Capture” will be shown in the top bar on your Mac.

Click on “Capture” and you can use different options to take a screenshot such as use windows to take screenshot of a specific window, selection to take screenshot of a selected portion, Screen to take the screenshot of the whole screen and timed screen will let you set timer for a screenshot.

Important Tips:
- You can also use “Command + Shift + 4 + Space” to save a screenshot in the clipboard. It has benefit on the other methods, because you will be able to paste the screenshot in any other program with just one command.
- To save time, you can use the free amazing utilities from the Appstore to take a screenshot. Moreover, some utilities also offer a photo editing window, so, you can perform basic editing on your screenshots such as mark a specific part in the screenshot, add text in your screenshots, watermark them or blur out some photos. The most popular and amazing utilities include Jing, Skitch and Monosnap.
How to take a screenshot of the MacBook Pro Touch Bar
Apple has completed a brand new shortcut designed to take a screenshot of the Touch Bar. If you have a Mac with the newest MacOS Sierra – 10.12.2
- Press Shift + Command + 6.
- Then, find the screenshot as a .png file on your desktop.
You can use Control (⌃) + Shift (⇧) + Command (⌘) 6 to save a screenshot in the clipboard for quick pasting in other apps.


