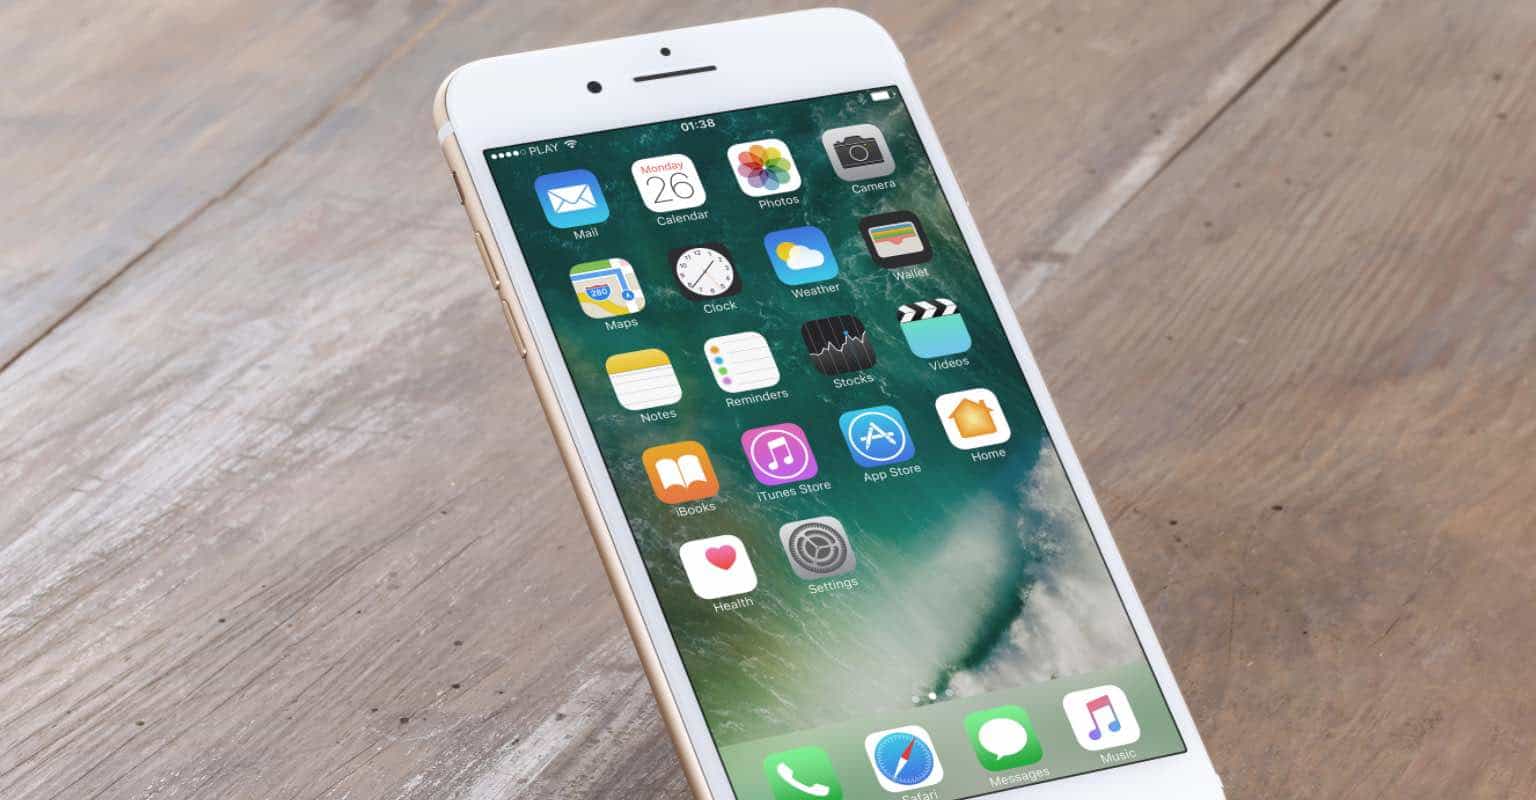
Your iPhone has two methods of alerting you to incoming calls or text messages. It either emits a tone when your phone is in the general mode or vibrates to signal you’re receiving a call or text message when your phone is switched to silent mode.
When your iPhone vibrates, you’ll notice that it vibrates the same way for all of your calls and messages. While many people know to customize the tone for when you get an incoming call or a message, there are fewer people who they that they can actually customize the vibrations on their iPhones.
Just like ringtones, you can also customize the vibration patterns on your iPhone so that it’s not the same way it vibrates when you’re getting a call. To create a custom vibration on an iPhone isn’t a daunting task and all it requires is for you to go into settings and do some changes here and there and you’re good to go.
Once you’ve created a custom vibration, you can assign it to any of the contacts on your iPhone. That way, you will be able to identify the caller just by noticing how your phone vibrates.
Read also: How to Organize Multiple Mailboxes in iOS
Creating a Custom Vibration on Your iPhone
You don’t need a third-party app to do the job.
1. Tap on Settings on the Springboard of your iPhone to launch the settings panel.
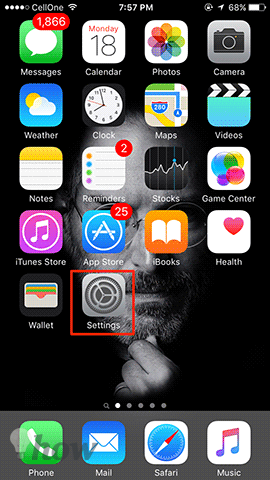
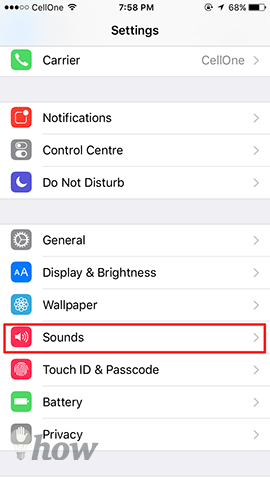
2. When the Settings panel launches, tap on Sounds. That’s where the vibration and sound settings are located.
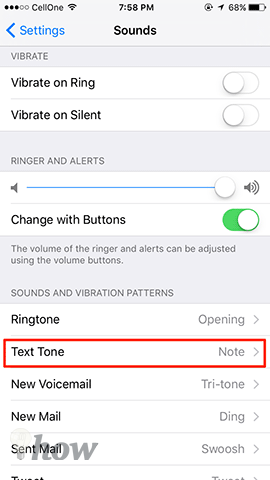
3. Inside the Sounds settings panel, you’ll find an option that says Text Tone. Tap on it as that’s where all of the vibration patterns are located.
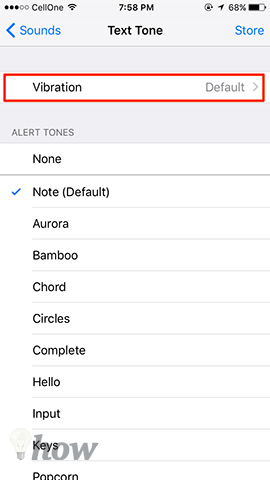
4. On the top you’ll see an option that says Vibration. Tap on it to go to the vibration settings panel.
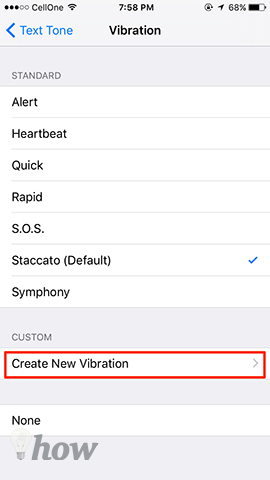
5. On this screen, you can either choose a vibration pattern from the options available to you or you can create a new one. Since our aim is to create a custom one, tap on the option that says Create New Vibration to begin creating a new vibration pattern.
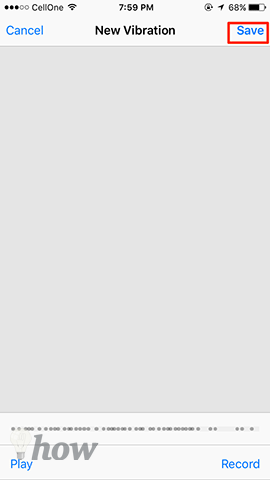
6. On the following screen, you need to tap on the screen and it’ll start recording the vibration for you. The bar will fill-up in the bottom which indicates your pattern is being recorded.
When you’re done creating a custom vibration, tap on Save in the top-right corner to save the pattern.
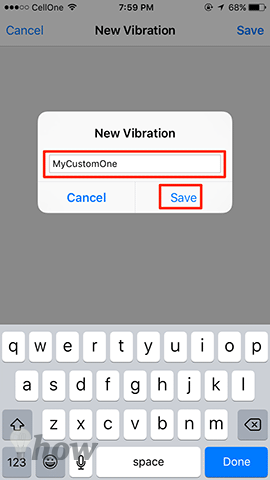
7. You’ll be asked to enter a name for the vibration. Enter whatever you feel is appropriate for it and then tap on Save.
8. The custom vibration pattern should now be available in the vibrations list on your iPhone.
So, that’s how you can create a custom vibration on your iPhone. See, how simple it was to create something new on your iPhone without requiring a third-party app.
Now that you have a custom vibration, you may want to assign it to a contact on your iPhone. Here’s how you can do that:
Assigning a Custom Vibration to a Contact on Your iPhone
Again, you don’t need a third-party app to do the job.
1. Tap on the Contacts app on the Springboard of your iPhone to launch your contacts.
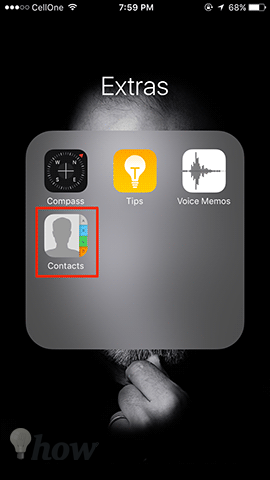
2. You’ll be presented with all of the contacts you’ve saved on your iPhone. Tap on the one you wish to assign the custom vibration to.
3. When you’ve selected a contact, tap on Edit in the top-right corner of the screen to edit the contact vibrations.
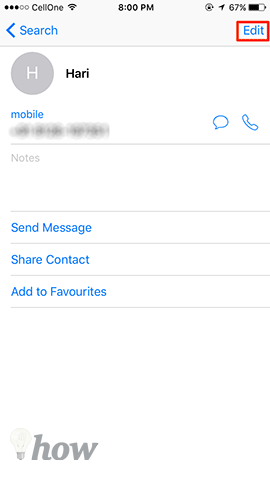
4. On the following screen, tap on Vibration for both Ringtone and Text Tone to select the custom vibration that you created using the above method.
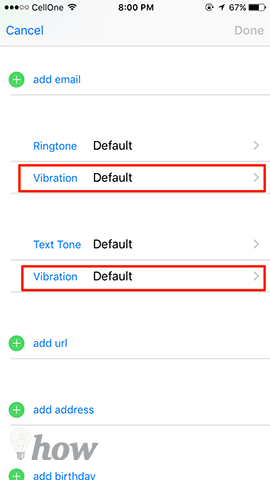
5. Select your custom vibration here and then tap on Done in the top-right corner of the screen.
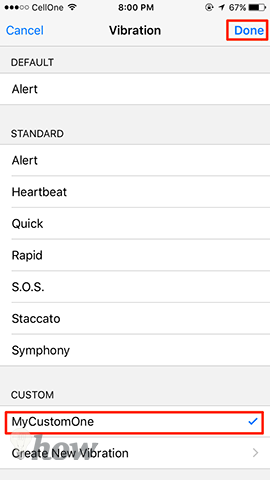
6. You’re all set.
Now, whenever this contact either calls you or messages you, your iPhone will vibrate in the pattern you’ve set before. It won’t use the default vibration pattern for when this contact calls or messages you. Let us know if this helped you!


