Adobe Photoshop stands as one of the top image editing software globally, utilized by both professionals and novices. A sought-after feature of this program is the ability to add text or content to images and photos. It offers a plethora of font styles and also allows access to the “Fonts” file on your Windows or Mac computer. However, installing fonts in Photoshop is a common issue amongst users, and this is what we aim to assist you with here.
In this tutorial, OMG!HowTo will show you how to add fonts to photoshop on Windows or Mac. Photoshop works with same fonts which are installed on your OS. Consequently, there is no need to install fonts separately in photoshop. Just install fonts on your OS and use them in Photoshop program. Let discover how to install fonts.
What is Adobe Photoshop?
Photoshop, one of the most commonly used photo editing software is a program developed by Adobe in the 1987. It is software that can be used for image enhancement and the creation of graphics. Photoshop has become popular due to its wide range of features such as editing photos, easily edit images and creating images.
Photoshop is not only used by just photo editors; to date, it is being widely used in other fields such as advertisement, printing and so on. While creating images photoshop allows one to select and easily manipulate all the elements of an image. It is powerful software, using which you can easily manipulate images and get your desired output within few minutes.

How to add new fonts to Photoshop on Windows 11
Step 1: Download the font you want: 1001freefonts.com
Step 2: Extract the font file
Step 3: Open and click install the font
How to add new fonts to Photoshop on Windows 10
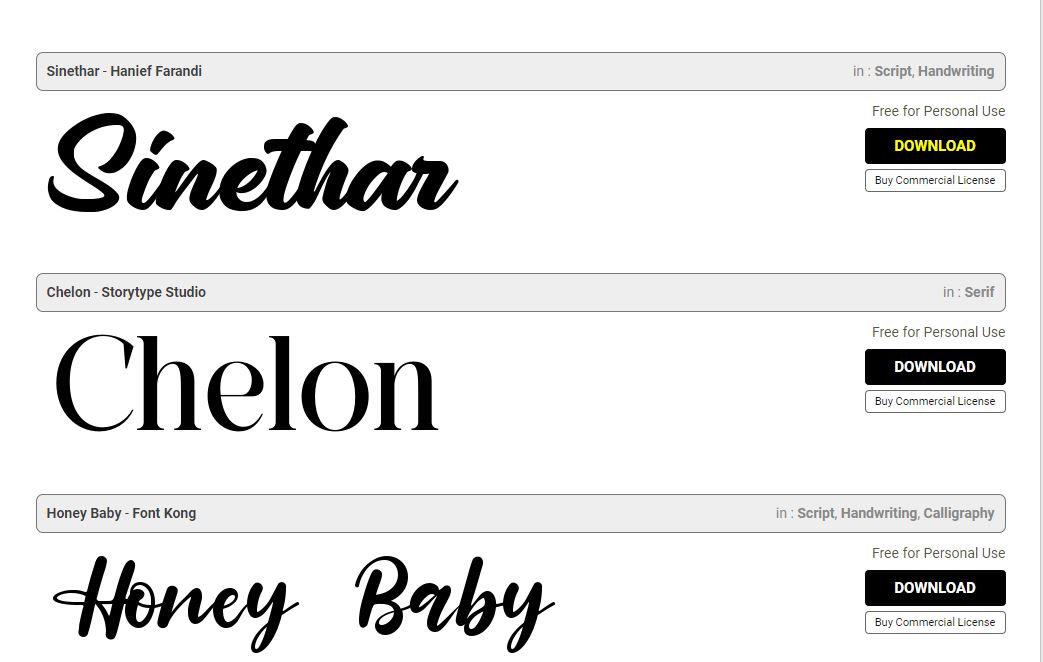
Step 1: First, let find and download a font which you want to use. You can see a lot of websites that get free font. In this article, we would be using 1001freefonts.com and download “Gabrielle” as the test font.

Step 2: Click Download button on the right the Font which you need. Then, the new font file with format (.zip or .rar ) will be downloaded on your hard drive. In this tutorial, using Google Chrome browser and when the file was downloaded. It’s will be saved to Download folder.

To open Download folder, click on the Arrows icon and click Open.
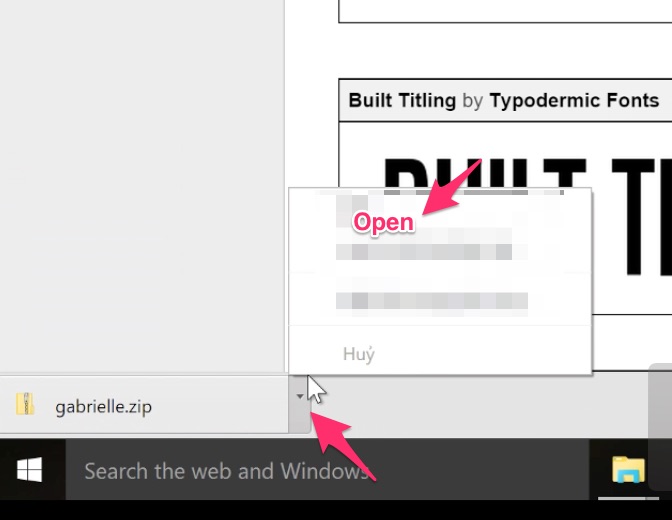
If you are using difference browser, let find your file in a different folder which preferred at your Settings browser.
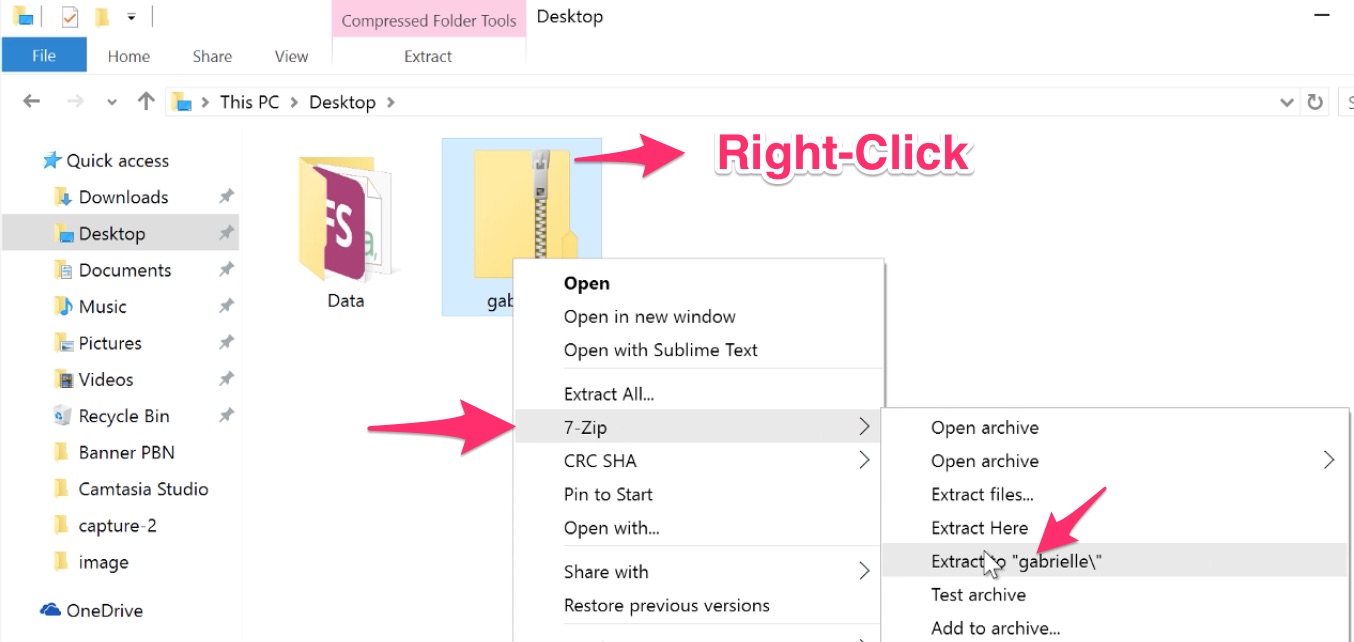
Step 3: Now, let unzip the font file by Right-Click on it and choose Extract Here or Extract to {Name folder}. The font is going to unzip to Folder named “Gabrielle”.
Step 4: Let open the folder unzipped. Here you will see a font file with format .ttf file which is exactly what we use.

To install the font in Windows, let Right-Click this file and click Install.
See more ways to install fonts in Windows, Click here.
To install the font in Mac, let Double-Click this file and click Install.
See more ways to install fonts in Mac, Click here.
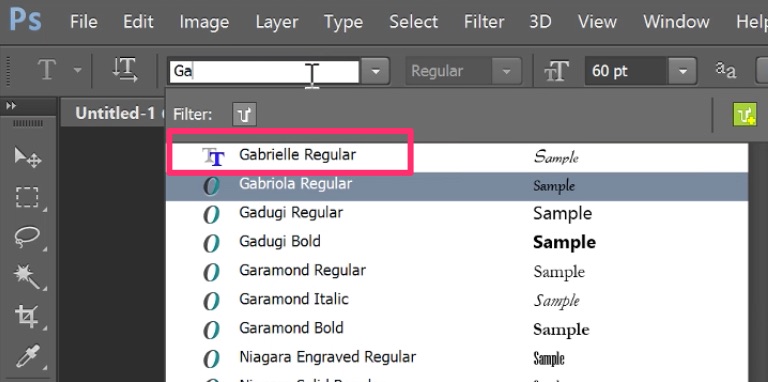
Step 5: Finally, you can find and use this font in Photoshop program.

Let open Photoshop. Now to find quickly, either open up the character panel or select the horizontal select tool (Shortcut by Press Shift + T until you see it). You could find your installed font there.
