Normally, when you want to design a document or make a presentation (PowerPoint,…) more interesting, the default fonts are very boring so the solution can install a new font in Windows. At the websites that get fonts, either cost-free or purchase such as Dafont.com, 1001freefonts.com, etc. If you don’t make sure how to install fonts in Windows 7, Windows 8.1 or Windows 10. This article will helpful!
The create news is that you install fonts on Windows is very simple with few steps. Just Drag and Drop! In this tutorial, we want to show you two difference ways to install the new fonts in Windows 10.

If you are using macOS, you can see more: How to install fonts on macOS.
Download and Unzip The Font

Step 1: Download Fonts which you want to use. Some website that you can get free fonts that you can easily find on the Internet.
Step 2: Often, the font sets are downloaded as .zip or .rar files so you may need to unzip them.
How to Install new fonts in Windows (Method 1)
Step 1: Open the font folder you unzipped.
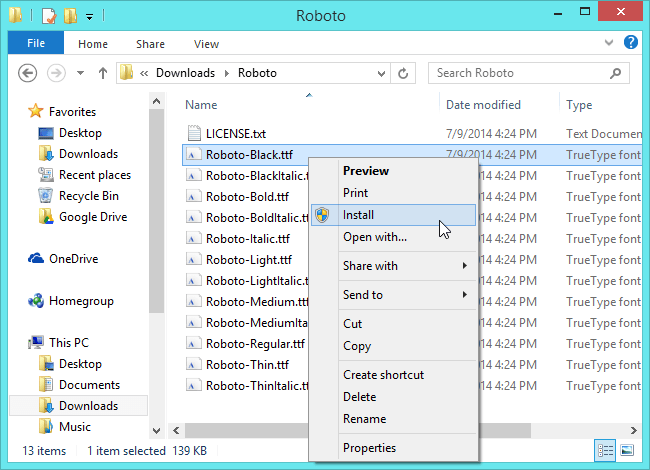
Step 2: Right-Click on the font file with format: .ttf, .ttc, .otf, .pfb, .pfm,.. and then click Install from menu drop down.
How to Install new fonts in Windows (Method 2)
Windows 7, Windows 8.1
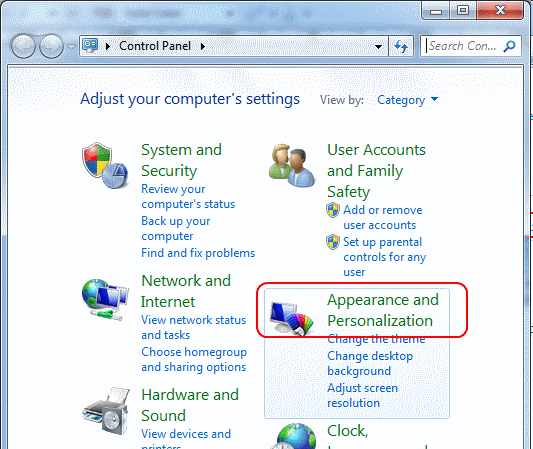
Step 1: The first, open the Control Panel. Clicks Start >> Control Panel. Continue click Appearance and Personalization.
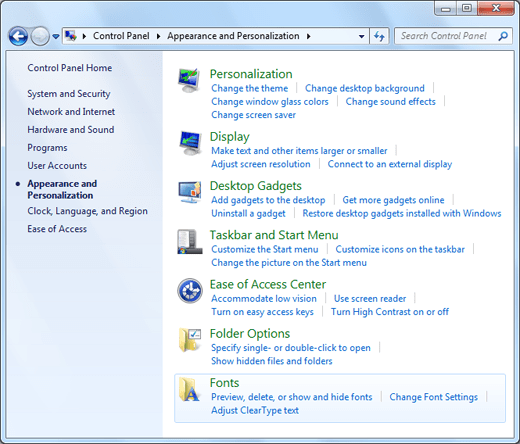
Find and click on Fonts folder.
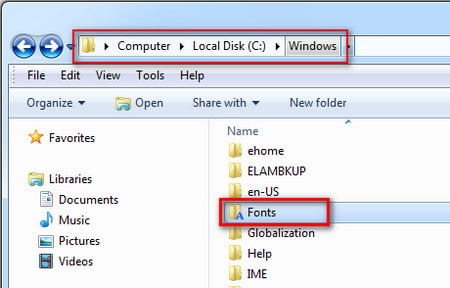
or you can access the font folder via path: C:\Windows\Fonts.
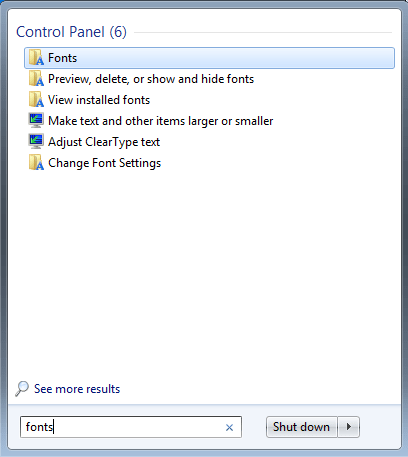
or you can also search for Font in the search box at the Start Menu of Windows 7 and click on the Fonts from the search result.
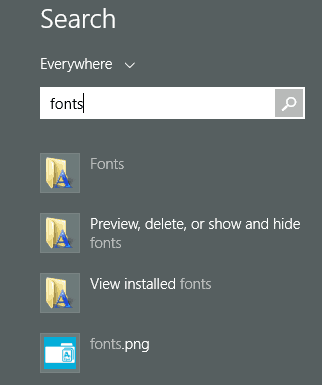
and with Windows 8.1, let type fonts at in the Start screen and choose Fonts folder in the list of search results.
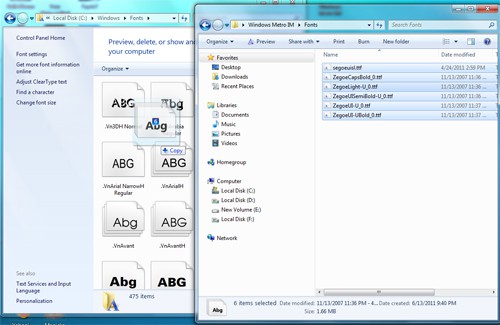
Step 2: Open the folder or area where you have unzipped the font file downloaded.
Step 3: Let drag and drop the font files from Folder in Step 2 to folder Fonts in Step 1.
Windows 10
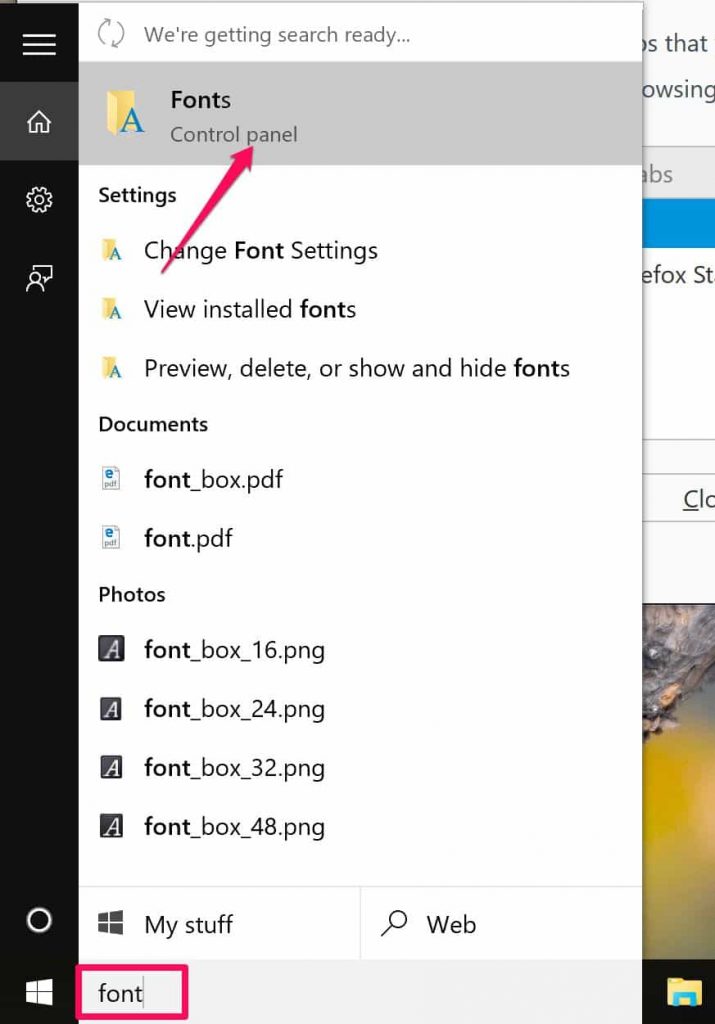
First, let type font at the search box inside Taskbar, and then click Fonts folder from list search result.
At Fonts windows, Drap and Drop new font which you want to install in Windows to use. Congratulations! The new font was installed completely and you can find it on your program as Photoshop, PowerPoint,…
How to delete the font in Windows
Windows 7 and Windows 8.1
You need to open the Folder Font in Windows and then right-click on this font which you want. Click Delete from Menu drop down to uninstall your fonts.
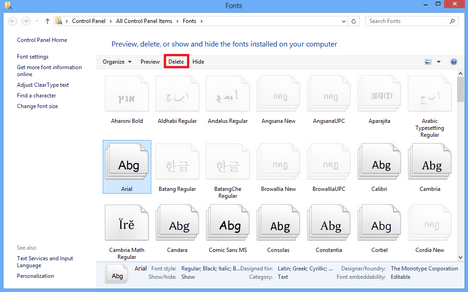
Windows 10
If you want to delete some fonts, just select them and click Delete button. It’s the same way to delete fonts on Windows 7 or Windows 8.1