Taking a screenshot on an Android phone is not as easy as compared to take a screenshot on the iPhone because of plenty of hardware manufacturers and different version of Android OS. If you have an Android phone with Android, you can easily take the screenshot using two physical buttons on your phone or tablet.
If the version of your Android is lower than 4.0, you will need to download a screenshot capturing application from Google Play Store. Here’s the step by step guide on how you can take a screenshot on Android devices.
How to Take a Screenshot on Android Phone or Tablet
Take a screenshot on latest Android devices
First of all, go to the app or screen you want to capture the screenshot of, you can virtually take a screenshot of any screen of any app or settings on your Android.

There are basically two different methods of taking screenshots on Android devices, the first method will work with most of the devices.

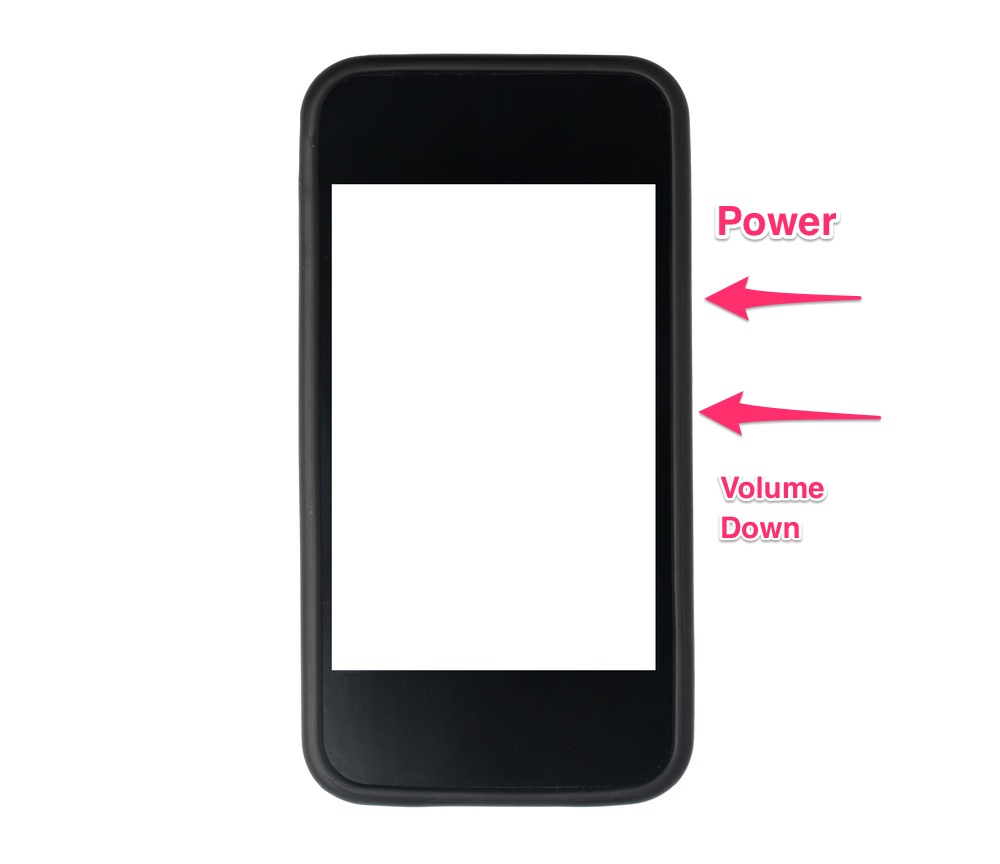
Press and hold the “Power button” and “Volume down button” at the same time for two or thress seconds to take a screenshot.
Once the screenshot is captured, you may hear a shutter sound but you will surely see a preview of your screenshot. However, if the first one doesn’t work for you, follow the instructions for the second method:
Press and hold the “Power Button” and “Home button” for two or three seconds to take a screenshot.
Sometimes, it is not as easy as it seems, it may take you some time to get used to take screenshots. You may need to try it again and again to become an expert.
Once a screenshot is taken, on most of the devices, a notification will appear in the notification center. Drop down the notification center to read the notification, you can either share the screenshot or delete it from your device.

Click on “Share” to directly share it via different apps.

If a new notification is not shown in the notification center, you can access the screenshots by navigating to Gallery on your phone. Tap on Gallery and you will find a new album by the name of “Screenshot”

Open the folder and select the recently taken screenshot. Click on the three dots in the top right corner. You will find different options for the screenshot.

How to transfer Screenshot to PC
No matter which method you follow to take screenshots, you can easily transfer them to your PC using these steps. Connect your Android Phone to PC and open “My Computer”. Here you will find your recently connected android device.

Open it and select “Internal Storage”. Now, select “Pictures” and here you will find the “Screenshots” folder. Open it and select your files to copy them to your PC.

Take a screenshot on older Android devices
From your Android Phone, Open “Google Play Store” and search for Screenshot Easy”. Click on Install to install it on your Android phone.

After installing Screenshot, launch it. Here you can set different parameters such as shake to screenshot, notification icon or use the camera button to take a screenshot. Click on “Start Capture”. It will minimize the application.

Go to the Page or app you want to shot and drop the notification center. Tap on “Screenshot Easy” to take a screenshot on Android.

The screenshot will appear in the gallery, you can follow the above-mentioned method to share them from your Android device or transfer them to PC.
See more:


