Were you aware that your macOS and Windows 10 could function as Wi-Fi hotspots? This often surprises many people who assume only mobile devices have the ability to create Wi-Fi hotspots, not laptops. Let’s first examine the macOS and explore how you can transform your laptop into a Wi-Fi hotspot, making your internet accessible to everyone!
See more: How You Can Keep Your WiFi Safe
Configuring your Hotspot on your macOS
In the macoS, the option for the Wi-Fi hotspot is located inside the “Internet Sharing” feature. This feature can be accessed in the System Preferences window.
So what are the steps to gain access to the Wi-Fi Hotspot?
- Click the Apple menu, then tap “System Preferences” and then select the Sharing icon.

- Now, click on the option called “Internet Sharing” present on the list. Now, you can select the internet connection that you would like to share with your other devices through the Wi-Fi Hotspot.

- However, the big drawback of this feature is that if you’re hosting a Wi-Fi network and providing the Wi-Fi Hotspot, you can’t connect to the internet yourself, leaving you with no connection to the world.
- Now go in the “To computers using” box, and select the option for Wi-Fi. Thus a Hotspot will be created, and now the internet connection that you selected in the previous steps will now be shared with every single device that will be connecting to that Wi-Fi network!
- To edit you Wi-Fi Hotspot, Select the “Wi-Fi Options” button, located at the bottom of the window and. Now, you can edit your Wi-Fi hotspot, and change your network name, and select the best channel for Wi-Fi!
- If you want to change the security settings of your Wi-Fi hotspot, select the “Wi-Fi Options” button, and now click the “Security” box. The next thing you should do is select “WPA2-Personal,” and now you can put a password on it of your choice. By default, however, your Wi-Fi hotspot is not password protected and can be accessed by anyone.
- Now that you’ve configured your Hotspot select the checkbox that is on the left of “Internet Sharing.” If you click start, your Hotspot will start working!
Read more: Best Wireless Routers
Share a Wired or Wireless Internet Connection in Windows 10
So what about Windows 10? Does it come with this feature too or is this unique for macOS only? Well, if you do have Windows 10 with the Anniversary update, you can also take advantage of this option. After this update, you can turn on your Wi-Fi hotspot on any PC which has access to the Internet.
Let’s take a look at the steps that you have to follow:
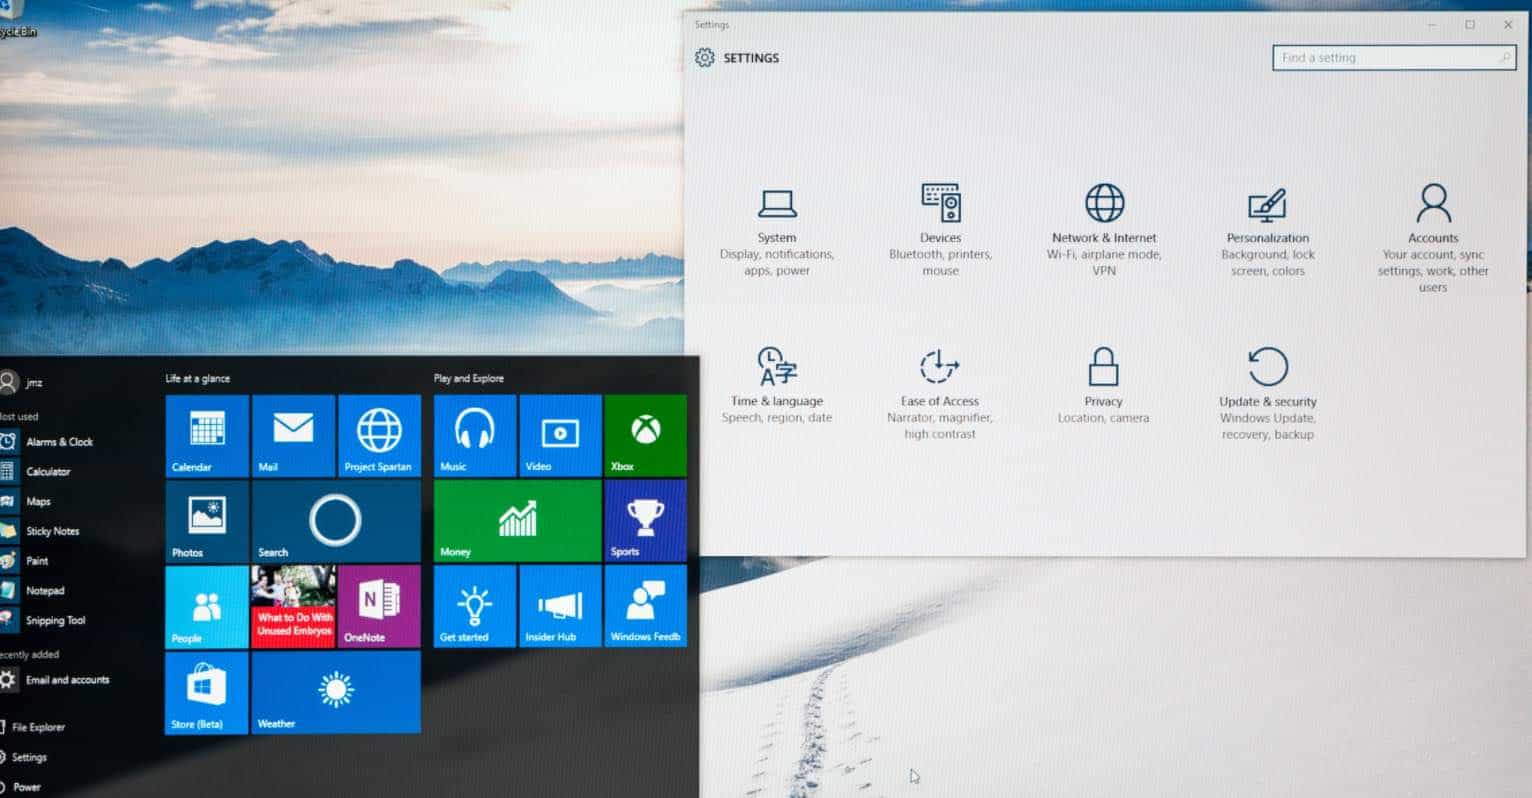
- First of all, when you simultaneously press Windows + I on your keyboard, I will open the Settings page. Now, select the “Network & Internet” option.
- Now that you are inside the Network & Internet Settings click the “Mobile Hotspot” option on the left-hand side.
- Now, on your right-hand side, you will see the option named “Share my Internet connection with other devices.” Turn it on. Now, if you want to edit the password or name of your Wi-Fi hotspot, then you can just click on the “Edit” option, and you can configure your Wi-Fi hotspot.
- These simple steps are all that you need to know to turn on your Wi-Fi hotspot in Windows 10, which is one of its best new features!
See more: How to View Your Saved Wifi Password in Windows 10
Share a Wired Internet Connection in Windows 7
Unlike Windows 10 or macOS, Windows 7 uses something called an ad-hoc network to share the computer’s wired internet connection to wireless devices. So what is an ad-hoc network? It is a straightforward and direct way of connecting devices.
When you are sharing your wired internet connection, essentially you’re creating an ad-hoc network between the wired PC or its wireless connection and the wireless devices that will be connected to it.
All you have to make sure that the computer that you’re using has a wired connection, and that the PC does have Wi-Fi in it. So how exactly do you share a wired internet connection in Windows 7?
Here are the following steps that you need to go through to accomplish this:
- First of all, you need to find the Manage Wireless Networks window and open it.
- Now, tap on the “Add” button, and now select the option to “Create an ad hoc network.”
- Now, choose a name for your Wi-Fi hotspot as well as a password for it. Now, just access the list of the Wi-Fi networks that are available and select your Wi-Fi hotspot.
- If you’re connected to any current Wi-Fi networks, it will disconnect from that one and will become the host to the ad-hoc network that was just created.
- So, just be sure that you do check the “Allow other network users to connect through this computer’s Internet connection” which means that now, your PC can share its internet connected with all the wireless devices that want connect with it.
And those are all the steps that you need to go through to make a Wi-Fi hotspot on a MacOS, Windows 10, and Windows 7!


