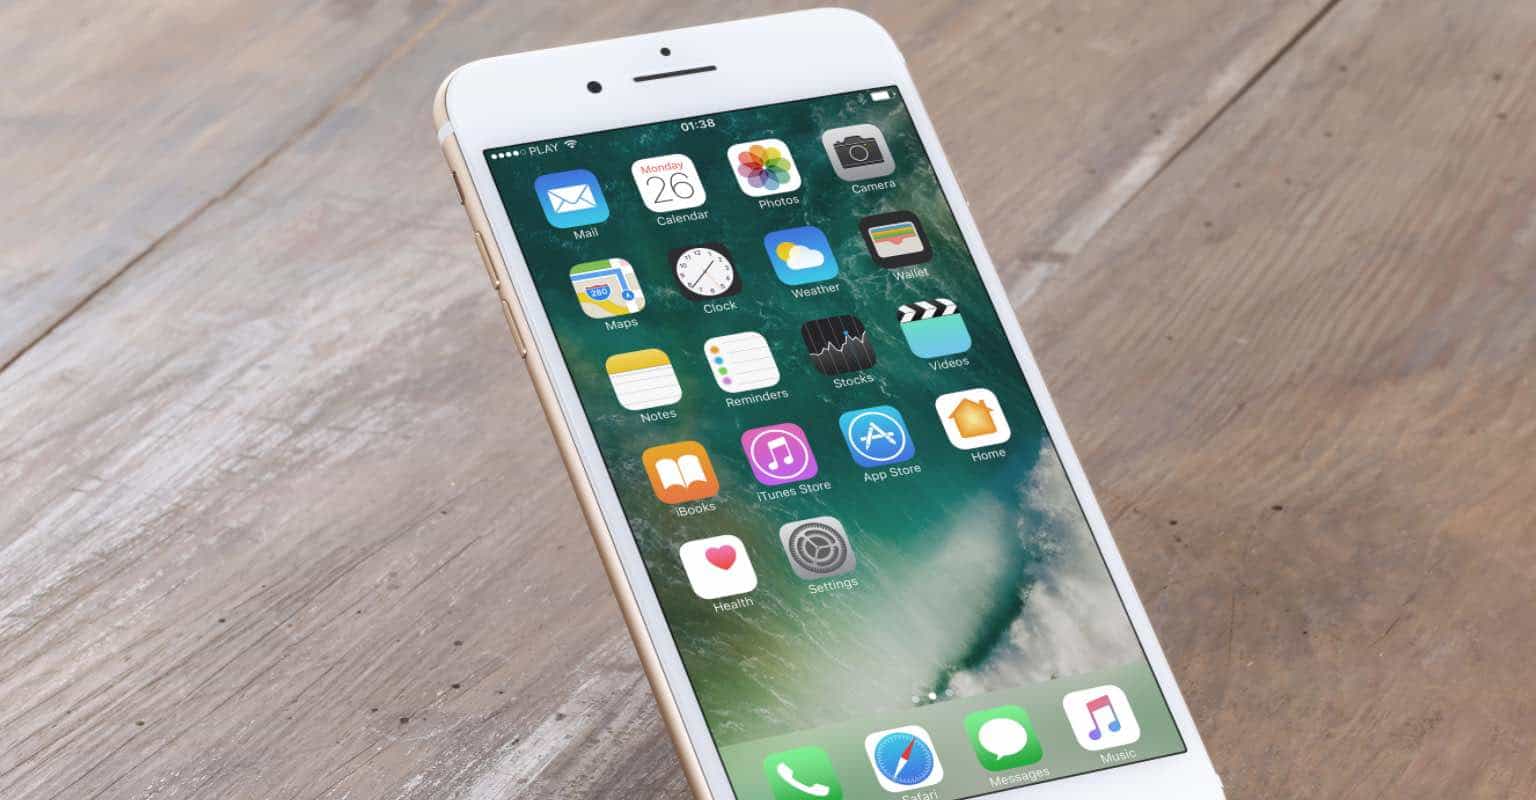
Long gone are the days when you had to backup the important data from your computer or cell phone to a particular hard drive or folder on your computer. Thanks to the fastest internet connections and cloud services, all of your data can easily be saved to the cloud without any delay and you can access the same account with your user account.
There are plenty of ways by which you can make a backup of all the photos present on your iPhone, if you are always on Wi-Fi and do not have many photos, you can use the free iCloud option to save the photos. But by this way, you will not be able to copy photos via iTunes to your computer.
On the other hand, by using iTunes or Photos app on Mac, you will have to connect your iPhone, again and again, to back up your photos. In other words, every method has its pros and cons. Here’s the detailed guide on all the best ways to backup iPhone photos to cloud services or your computer.
Backup Photos to iCloud
Ever since the introduction of the iCloud, users can save all the important information from their phone to iCloud such as Contacts, calendars, messages, mails and even the photos.
Every free iCloud account gets 5GB of free space, and photos are automatically backed up from your iPhone to iCloud unless you have activated the account on your iPhone or iPad.
The latest version of iOS also has the photo optimization option which will only show the thumbnails of images in the Photos app giving you some extra storage space on your iPhone. Here’s how photos are backed up to iCloud.
Step 1: Go to Settings on your iPhone and Tap on “iCloud”. If you are already using the iCloud account, you will see your email address just below the iCloud. However, if you haven’t already logged in, it is actually the same as of your iTunes account or Apple ID.

Step 2: On the next screen, tap on the “Photos” as shown in the screenshot below.

Step 3: Make sure to turn on the first option which is “iCloud Photo Library”. This option will upload all of your photos to the iCloud account.
Now, if you want to keep the original photos, you can select the third option as shown in the screenshot posted below. Don’t forget to enable the “Upload to My Photo Stream” option which will automatically upload new photos.

Manually Backup photos to Computer
The method to manually backup photos is different on both Windows and Mac OS. In Windows, iPhone is detected as the camera, so, you can simply backup all the photos from your iPhone with just one click. However, the name of the photos will be changed to numerical.
On the other hand, People with the latest versions of Mac OS can use the “Photos” application on their computer to backup all the photos in few seconds. You can either backup all the photos or can select the photos that you want to backup. Here’s how this method will work:
Connect your iPhone with PC using USB cable and Launch the “Photos” app on your Mac. Now, hit the “Import” button, this is where you will see all photos present on your iPhone. You can either import all new photos or can manually select the photos and import them to your Mac.

Using this method, photos from your iPhone will be transferred to the Photos application on your Mac rather than a particular folder on your computer. You can also export these photos to iTunes.
Backup Photos using iTunes
If you are not a fan of the iCloud and want to backup your iPhone to your computer, then this is the best option to backup photos or any other thing from your iPhone.
Before you continue, make sure that you have disabled the iCloud option from your iPhone and put all the photos from your computer to the “Pictures” folder. Now, connect your iPhone to the PC and launch the “iTunes” on your computer.
Click on the little iPhone icon as shown in the screenshot below.

Now, select the “Photos” from the left panel and check the “Sync Photos” on the right-hand side of the screen. Finally, hit the Sync button on the bottom of the screen.

Back up iPhone Photos using Google Photos
Google Photos is a free application introduced by the Google which will back up all photos from your iPhone, iPad, Android Devices or even from your computer. This application will back up of iPhone photos to the Google account, so, you will need an account before you can continue.
Open App Store and search for “Google Photos”. After installation, launch the application on your Phone and open it. Tap on the “Get Started” on the first screen.
Read also: Best Photo Storage and Sharing Sites

Enter your account details on the next screen and enable the “Backup & Sync” option and hit the “Continue” button at the bottom right-hand side of the screen.

Now, you can select one of the two options; you can either use the option to upload the unlimited photos with the high quality or can use 110 GB free space to upload the original photos. After selecting one option, tap on the “Continue” button again.

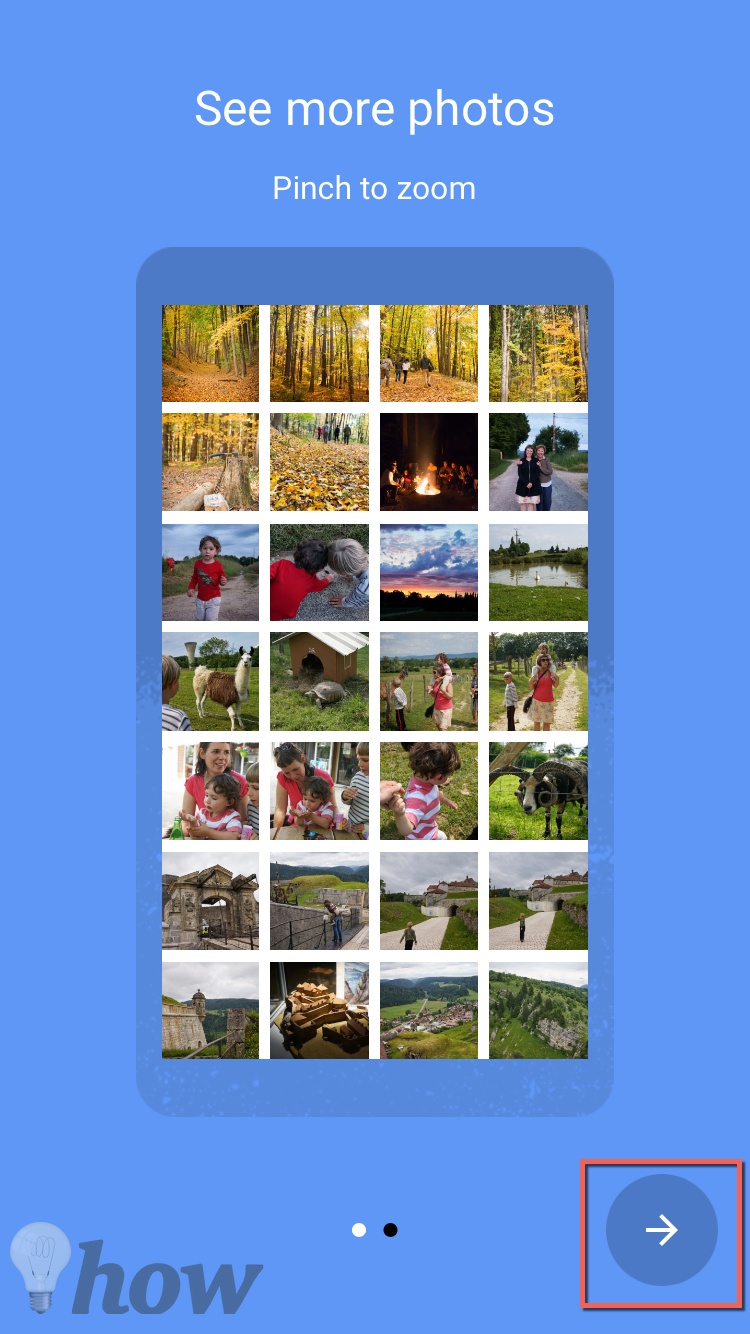
Hit the Next button on the screen.

Wait for a few minutes and let it complete the upload process. Once the backup is complete, here is how Google Photos will look like.

Conclusion
If you want to use the free yet best cloud services and do not care about the very high quality of the images, we will recommend you to use the Google Photos. As it will automatically sync photos from your iPhone to the Google account and you can use the “Free up” options to get some extra space on your iPhone.
On the other, if you want to transfer photos to your computer, you can use the manual methods to copy photos on Windows and macOS. I personally have only 16Gb iPhone 6S, and I prefer to use Google Photos and the quality of the photos is perfect for me. Let us know your choice in the comments section below.


