Apple ID is an all in one Apple account that can be used to purchase any kind of music, videos, applications and Mac apps from the App Store and Mac App Store. This account can also be used to upload and save data on the iCloud account. Apple uses a very secure system to save all your personal data on their servers. The best part about the Apple ID is that you can either create it on the personal computer or your iPhone, iPad.
The method of creating the Apple ID on both the Windows PC and macOS is same except for downloading and installing the iTunes. As macOS already has the iTunes installed, so you don’t have to download and install the iTunes. Here’s the step by step guide to create the Apple ID on both the computer and iPhone.
How to Create a New Apple ID Without Credit Card
Create an Apple ID on a Computer
- Download iTunes from here. If you already have iTunes, skip forward to Step 3. This instruction is specifically for the Windows version and Mac users can directly navigate to the third step.
- Once the download is complete, run the recently downloaded iTunes setup and follow the step by step guide to install the iTunes on your Windows computer.
- When the installation is complete, Double Click on the iTunes to run it on your computer. If you are using the MacOS, you can directly go to the Mission Control and Launch iTunes from there.
- Normally, the Apple ID can be created using the Visa card, Master Card or the PayPal account. However, if you don’t have any payment method, select a free application and click on GET to install it on your computer.

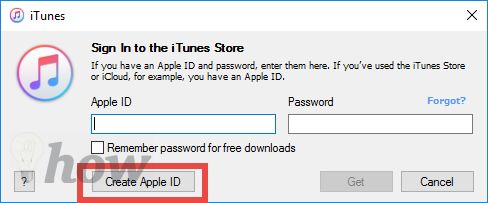
- As soon as you click on the application, a new pop up will be shown where you will have to enter the iTunes account username and password. If you don’t have the account, click on “Create an Apple ID”.

- In the next window, click on ‘Continue’.

- For moving further ahead, you need to agree to the Apple Privacy Policy and the Terms and Conditions. To do so, click on the ‘I have read and agree to the terms and conditions’ checkbox.
- Click on the ‘Agree’ button found on the bottom of your screen.

- A form will appear before you asking for your personal details and credentials. Fill the form with the appropriate details.
- The form includes a security question. In the security question, you have a dropdown menu that you can click on to view the questions available. Choose an appropriate question and give the answer to the question you choose in the box below.
- Below the security question, there is a field for the rescue email address. This is present for security purposes. In case you forget your Apple ID credentials, you can always retrieve it through your rescue email. The field is optional but we recommend that you provide an email address.
- Once you’re done filling the form, click on the ‘Continue’ button on the bottom of your screen.

- Next, you’ll be asked for a payment method and billing address for authenticating and transacting your purchases. If you have previously downloaded the application, you will be able to select the “None”, otherwise, select the credit card, debit card or select your PayPal account. Provide the required information for your account.

- Once you’re done, you will need to verify your email ID before you can use your Apple ID. To do so, sign in with the email ID that you used for your Apple Account. Check your email for an email from Apple asking for verification.

- In the email, you will find a ‘Verify Now’ link, click on it.

- You’ll be redirected to the Apple ID page. Here, enter the email address and password for your Apple ID.
- Click on ‘Verify Address’ and you’re done!
Create an Apple ID on an iPhone
There are two ways of creating the Apple ID on your iPhone, you can either create it using the settings of your iPhone or from the Appstore on your iPhone. If you are using the Debit or Credit card or PayPal account, you can create the Apple ID from the Settings or you can create the Apple ID from the App Store on your iPhone.
Method 1: Using Settings
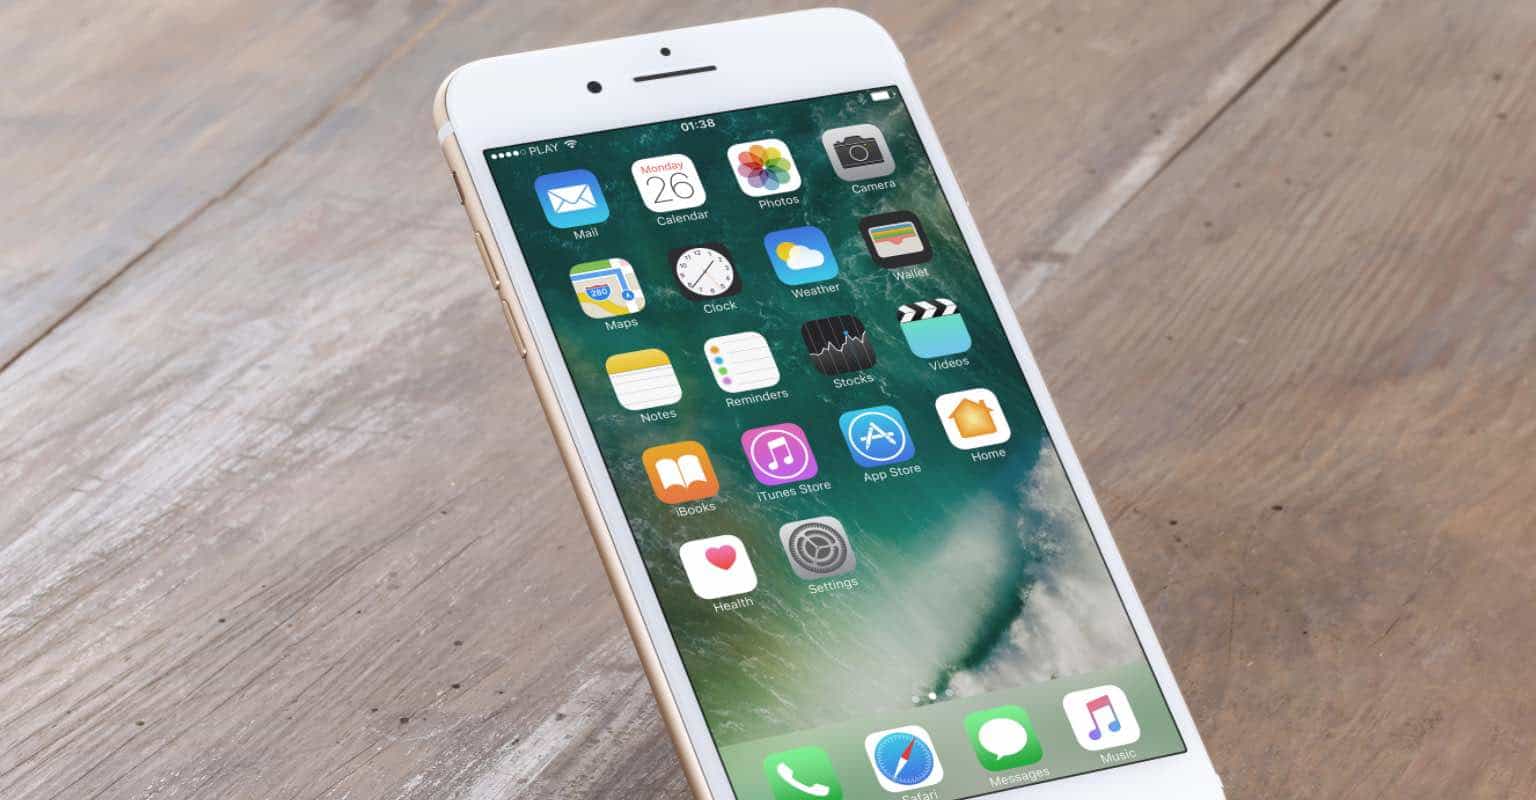
- From your Home Screen, tap on ‘Settings’.
- Scroll down and look for the ‘iTunes & App Stores’ option. Tap on it.

Method 2: Using App Store
- Click on the App Store on your iPhone, select a free application on your iPhone and Tap on “Get” to install it on your iPhone.

Creating Apple ID:
- On the next screen, tap on the ‘Create New Apple ID’ option.

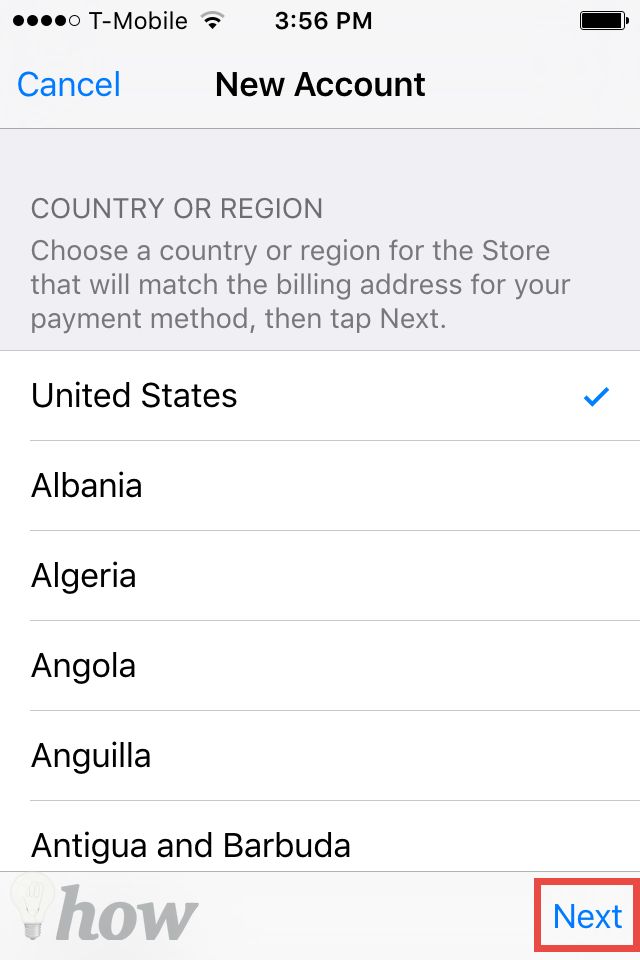
- Next, choose the country of your residence.

- Tap the ‘Next’ button on the bottom of your screen.
- To move ahead, you must agree to the Apple Privacy Policy and the Terms and Conditions. To do so, simply tap the ‘Agree’ button on the bottom right of your screen.
- The next screen will ask you for an email address and password. Enter your email address and password and scroll down.
- You’ll now be able to see three security question options before you. Answer these questions to move ahead. You can also tap on the ‘arrow’ on the side of each question to change the question.
- Click on the ‘Next’ button once you’ve answered the questions.

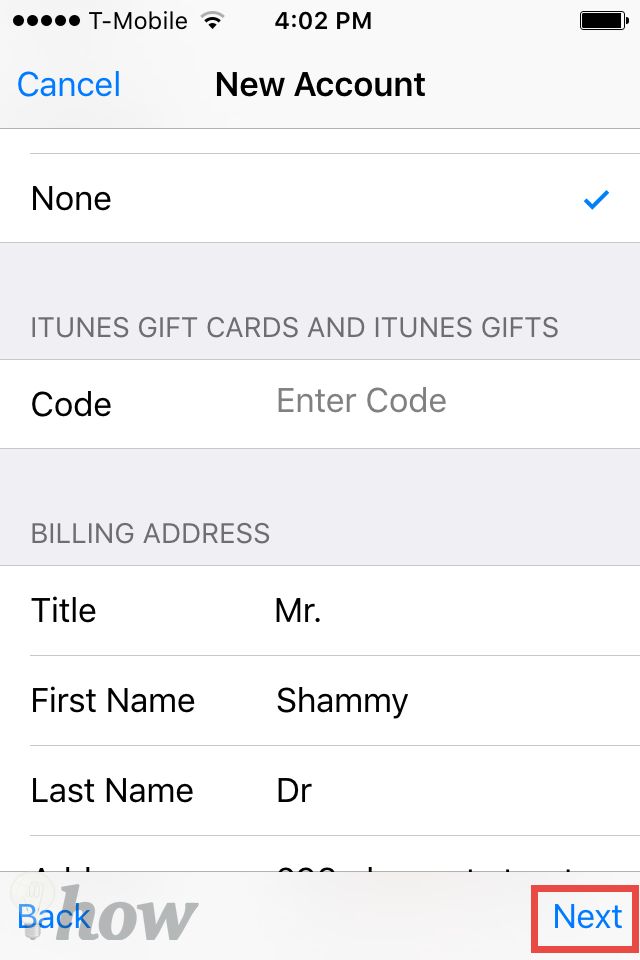
- You’ll be asked for your billing information next. Apple offers you to pay through different Credit Card types, tap one of the available options and tap ‘Done’ button. If you do not wish to enter billing information, select the ‘None’ option and then tap the ‘Done’ button.
- If you chose ‘None’ as your credit card type, skip to Step 12. Else, enter your billing information and tap ‘Next’.

- Next, a screen saying ‘Verify Your Account’ will appear. Tap ‘Done’ and exit iTunes.

- Sign in with the email ID that you used for creating your Apple ID. You will have received an email from Apply for verification of your account.
- Open the email from Apple and click on the ‘Verify Now’ link.
- You’ll be taken to a page where you will be prompted to enter your email ID and password. Enter your credentials and that’s it! Your Apple ID is ready has been made!
Conclusion
Once you have created the Apple ID, you can use it with any device associated with the Apple device. This account can also be used the iCloud account and in the Mac App Store account to download the content on your Mac. In case of any problem, let us know in the comments section below.
Read also: How to Find Your Lost iPhone


